
There’s a certain delight that comes from whipping up a satisfying meal in under 30 minutes, especially on those hectic weeknights when time is short, but taste is non-negotiable. Enter my Korean Beef Rice Bowls—your passport to a vibrant explosion of flavors that’s both sweet and spicy, with a comforting heartiness that will have your family asking for seconds. I stumbled upon this recipe when I needed something quick yet exciting, and it has since become a staple in my kitchen.
Imagine the tantalizing aroma of minced beef sizzling away as you blend a savory sauce of garlic, ginger, and the iconic gochujang into the mix. With fresh veggies adding crunch and a creamy drizzle finishing it off, these bowls are a feast not just for the stomach but for the senses. The beauty of this dish lies in its customization—whether you like it spicy or prefer a milder touch, you can make it your own. Let’s dive into this quick, cost-effective meal that’s guaranteed to please the whole family!
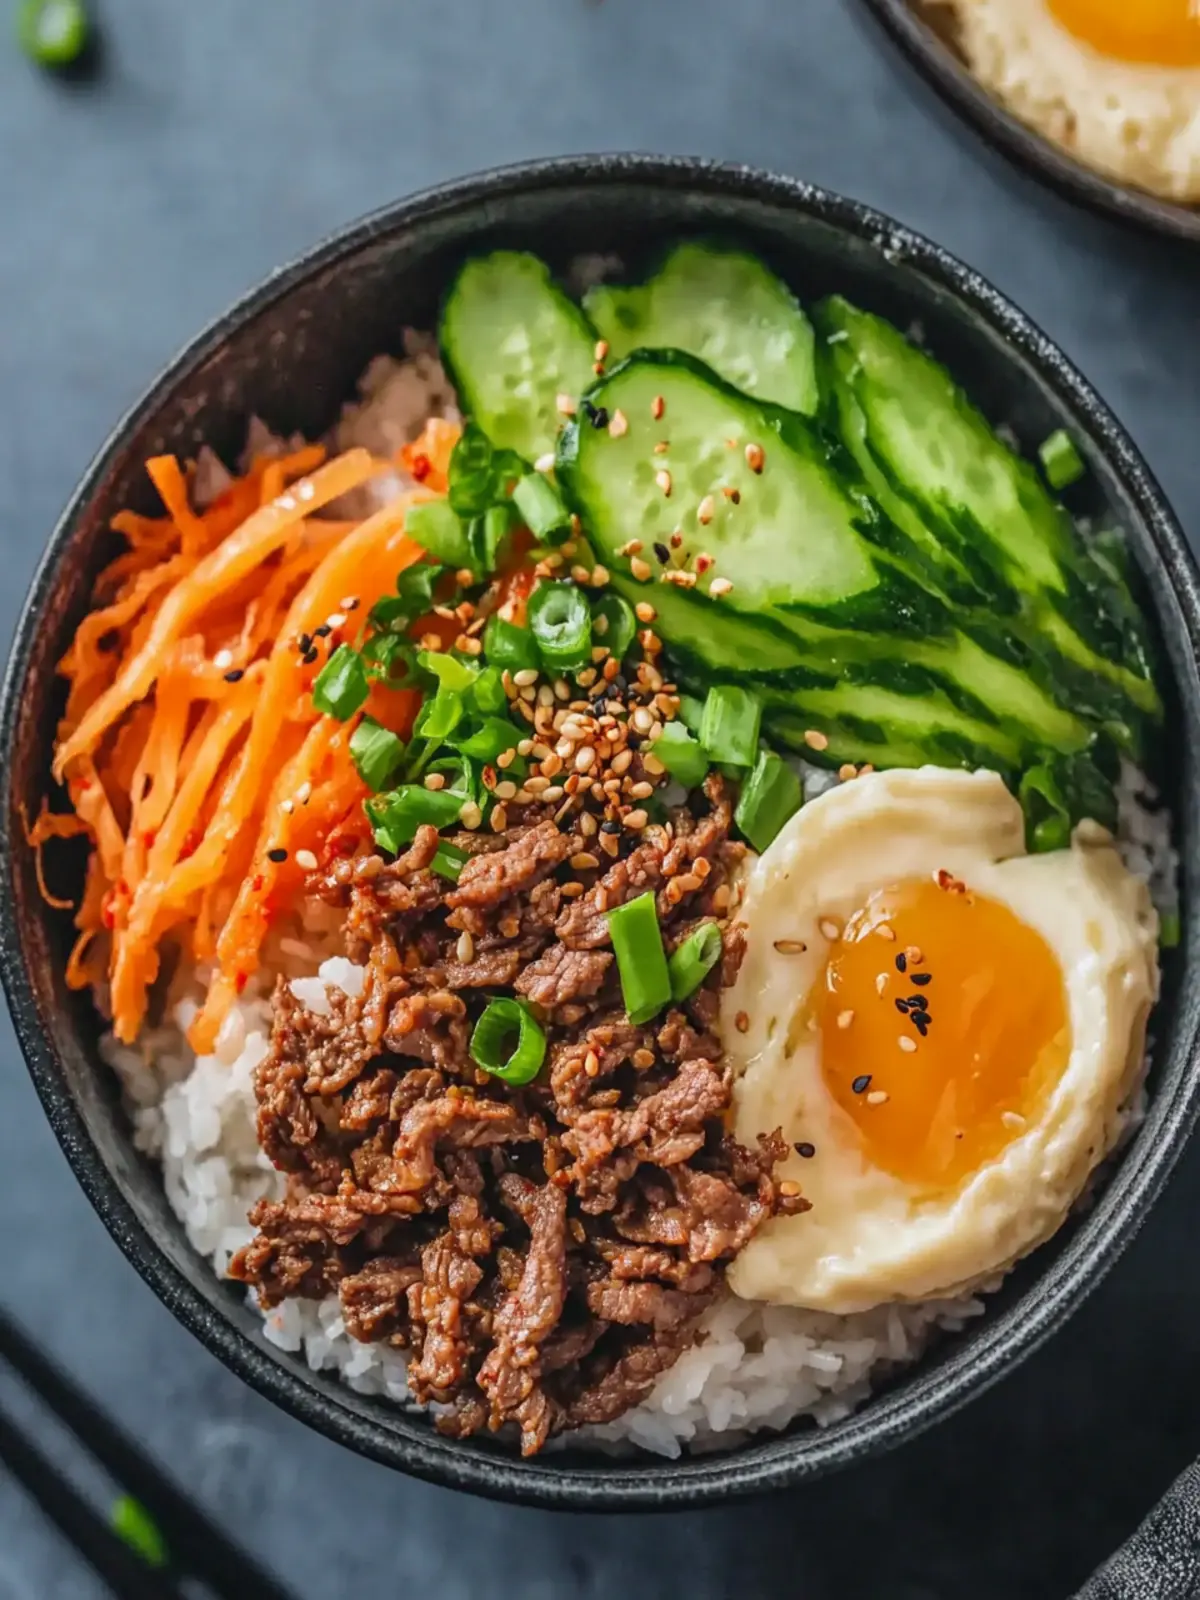
Why are Korean Beef Rice Bowls your go-to meal?
Quick and Easy: In just 20 minutes, you’ll whip up a delicious, satisfying meal that’s perfect for hectic weeknights.
Customizable: Adjust the spice level to suit your family’s taste, ensuring everyone enjoys their dish.
Cost-Effective: Using minced beef keeps the recipe budget-friendly while delivering hearty flavor.
Flavor Explosion: A mix of sweet, tangy, and spicy notes creates an unforgettable dining experience.
Kid-Friendly: With fresh veggies and a creamy drizzle, it’s a fun way to serve nutritious ingredients.
Versatile: Great on its own or as a side to your favorite salads, these bowls adapt effortlessly to any meal plan. Don’t forget, you can also explore other family-friendly dinner options for a complete meal rotation!
Korean Beef Rice Bowls Ingredients
• Gather these delicious ingredients to create your own flavorful bowls!
For the Sauce
- Freshly grated garlic – Adds aromatic depth; if you run out, garlic powder works too.
- Freshly grated ginger – Provides warmth and a delightful zing; maximize flavor with a microplane.
- All-purpose soy sauce – The salty backbone of the sauce; tamari is a great gluten-free option.
- Brown sugar – Balances out the savory flavors; can swap it with honey or maple syrup.
- Sesame oil – Infuses a nutty richness; for a deeper taste, use toasted sesame oil.
- Gochujang – This essential spicy Korean chili paste gives the dish its signature kick; start with 1 tsp for mild heat.
- Rice vinegar – Brightens the overall flavor profile; substitute with apple cider vinegar if needed.
- Sesame seeds – Perfect for garnish and crunch; feel free to skip or replace with chopped nuts.
For the Beef and Toppings
- Extra-virgin olive oil (or neutral oil) – For browning your minced beef; any cooking oil will suffice.
- Minced (ground) beef – The hearty protein source for this dish; ground turkey or even tofu can be used for a twist.
- Spring onions (scallions) – Adds fresh crunch; chives are a good alternative if you don’t have any on hand.
- Whole-egg mayonnaise – Used for the creamy drizzle; Greek yogurt makes a lighter substitute.
- Cooked jasmine rice – Serves as a delicious base; consider quinoa or cauliflower rice for a healthier option.
- Kimchi – Provides a tangy, crunchy kick; feel free to omit if you prefer a milder dish or try pickled veggies as an alternative.
- Carrot – Adds sweetness and texture; bell peppers or radishes can easily take their place.
- Lebanese cucumber – Freshness in every bite; regular cucumbers or even pickles will work just fine.
With these ingredients ready, you’re on your way to making delectable Korean Beef Rice Bowls that the whole family will love!
How to Make Korean Beef Rice Bowls
-
Make the stir-fry sauce: In a small bowl, whisk together freshly grated garlic, grated ginger, soy sauce, brown sugar, sesame oil, gochujang, rice vinegar, and sesame seeds until well combined. This will be your flavor powerhouse!
-
Cook the beef: Heat a splash of olive oil in a large frying pan over medium-high heat. Add the minced beef, cooking until it’s nicely browned, breaking it up into pieces as it cooks—about 5-7 minutes.
-
Add the sauce: Pour the stir-fry sauce over the browned beef, mixing thoroughly. Let it simmer for about 2-3 minutes until the sauce is slightly thickened; it should look glossy and delicious. Stir in chopped spring onions for that fresh crunch.
-
Prepare the mayo drizzle: In a separate bowl, mix together whole-egg mayonnaise, gochujang, sesame oil, and rice vinegar until smooth. This creamy drizzle will take your Korean Beef Rice Bowls to the next level!
-
Assemble the bowls: Divide warm cooked jasmine rice among four bowls. Top each bowl with the beef mixture, a scoop of kimchi, crunchy carrot slices, and refreshing cucumber. Drizzle with the mayo mixture, then finish with a sprinkle of sesame seeds and spring onions. Serve immediately and enjoy the deliciousness!
Optional: Consider adding some shredded cabbage or sautéed mushrooms for an extra veggie boost!
Exact quantities are listed in the recipe card below.
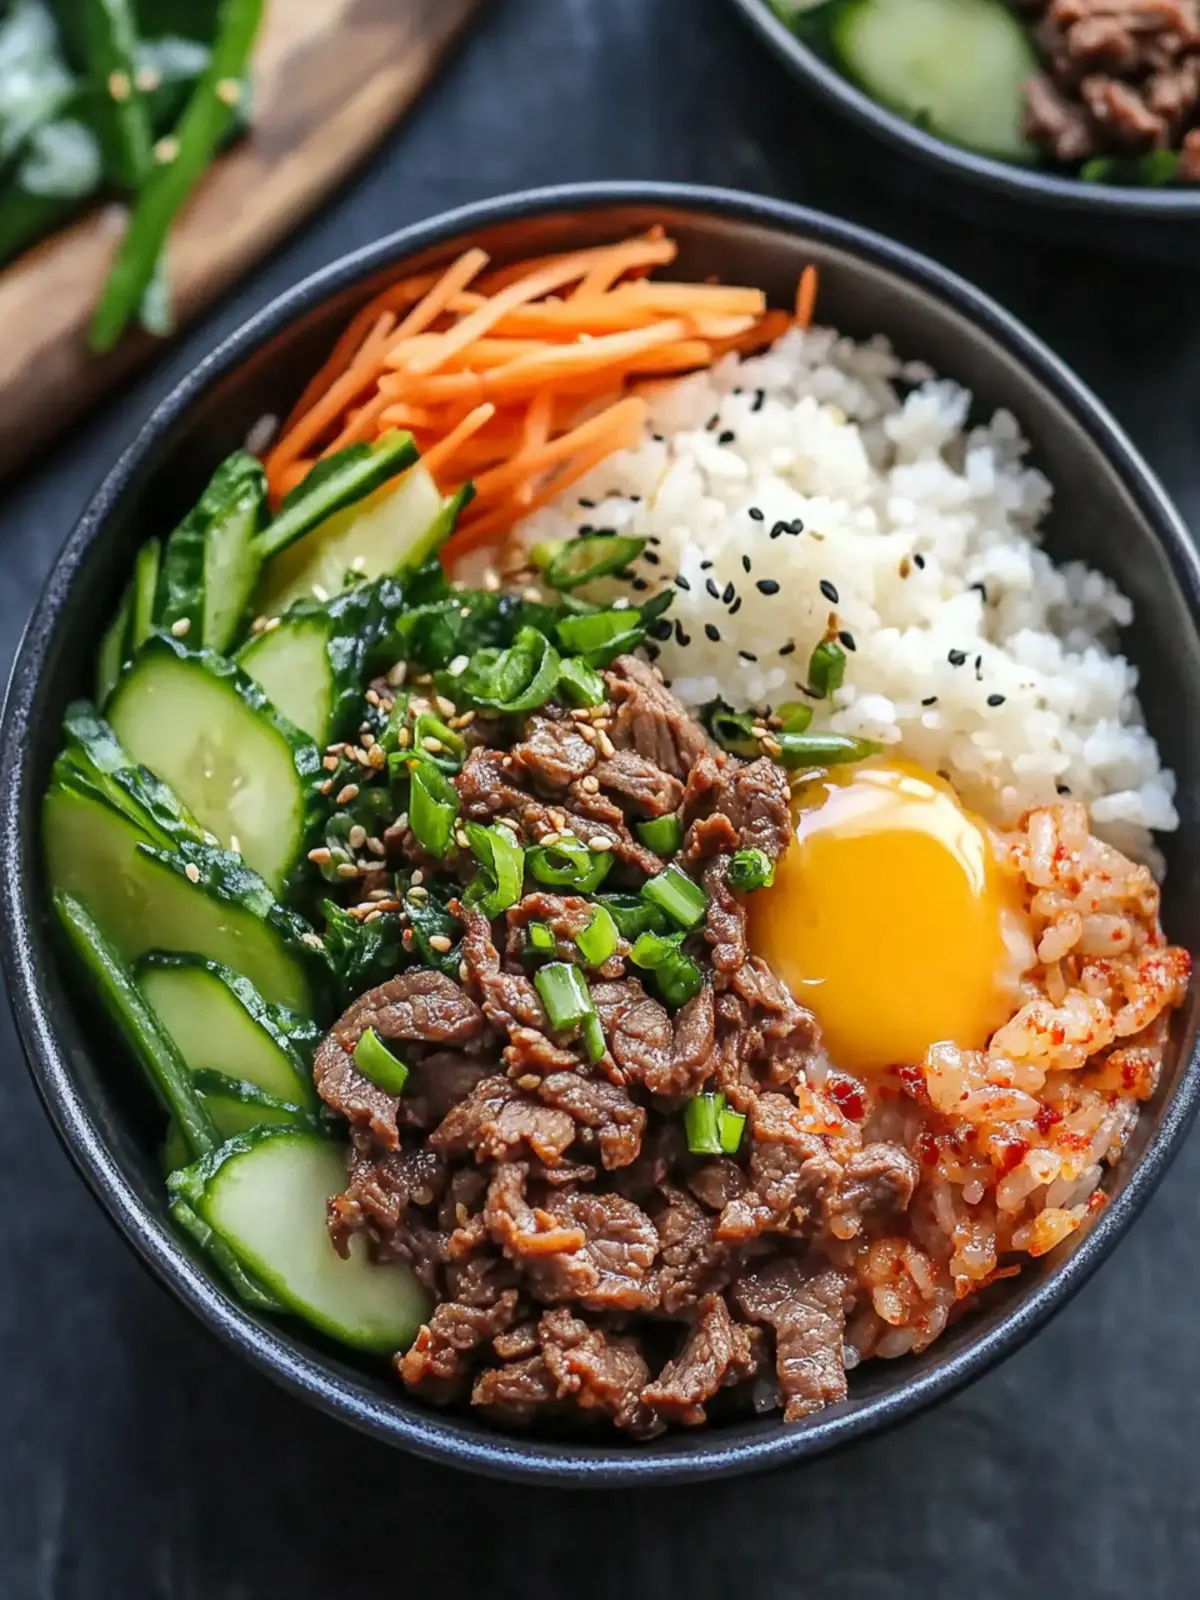
Storage Tips for Korean Beef Rice Bowls
- Fridge: Store any leftover Korean Beef Rice Bowls in airtight containers for up to 3 days. Ensure the beef is well-covered to retain moisture and flavor.
- Reheating: When ready to enjoy, reheat the beef gently in a skillet over low heat or in the microwave. Add a splash of water if needed to prevent drying out.
- Freezer: While not ideal for freezing due to the texture of the beef and veggies, you can freeze the beef mixture alone for up to 2 months.
- Defrosting: Thaw in the fridge overnight before reheating, and always serve hot for the best flavor and enjoyment!
What to Serve with Korean Beef Rice Bowls?
Elevate your dinner experience with delightful side dishes that complement the bold flavors of your beef bowls.
- Extra Kimchi: The tangy, fermented crunch of kimchi enhances the overall flavor profile, offering a zesty contrast to the savory beef.
- Refreshing Cucumber Salad: This light and crisp salad provides a cool respite, balancing the spiciness while adding a burst of freshness.
- Steamed Broccoli: The tender, vibrant greens soak up the flavors beautifully, contributing a nutritious side that’s both colorful and satisfying.
- Sesame Garlic Green Beans: Cooked with a light sesame oil drizzle, these green beans offer a nutty flavor that pairs exquisitely with the rice bowls.
- Savory Miso Soup: A warm, comforting bowl of miso soup brings umami depth and warmth to your meal while serving as a calming sidekick.
- Coconut Sticky Rice: This slightly sweet and chewy treat adds a delightful contrast to the savory Korean Beef, bringing a unique textural experience.
Think of these sides as companions to your Korean Beef Rice Bowls, harmonizing flavors and bringing joy to your family dinner.
Make Ahead Options
These Korean Beef Rice Bowls are perfect for busy home cooks looking to save time! You can prepare the beef mixture up to 3 days in advance by cooking it according to the instructions and allowing it to cool before refrigerating in an airtight container. Store the sauce separately to maintain its vibrant flavor. Vegetables like carrots and cucumbers can also be pre-chopped and kept in the fridge for up to 24 hours. When you’re ready to serve, simply reheat the beef gently in a pan, while the rice can be warmed up in the microwave. This way, the flavors remain just as delicious, making weeknight dinners a breeze!
Korean Beef Rice Bowls Variations
Customize your dining experience with these delightful twists that’ll elevate your Korean Beef Rice Bowls to a new level!
- Dairy-Free: Replace mayonnaise with a creamy avocado puree for a lush, dairy-free drizzle.
- Spice It Up: Add sliced jalapeños or a sprinkle of red pepper flakes for an extra kick of heat.
- Veggie Boost: Mix in shredded kale, spinach, or zucchini noodles for added nutrition and texture.
- Protein Swap: Try ground chicken, turkey, or even crumbled tempeh for a lighter protein option.
- Sweet & Savory: Incorporate diced pineapple or mango for a touch of sweetness that complements the savory flavors beautifully.
- Nutty Add-In: Toss in chopped peanuts or cashews for an unexpected crunch and richness that blends well with the dish.
- Herb Freshness: Garnish with fresh cilantro or mint to add a refreshing herbal note that brightens each bite.
- Bowl Upgrade: Serve the beef mixture in large lettuce leaves instead of rice for a low-carb, crunchy wrapper packed with flavor.
Expert Tips for Korean Beef Rice Bowls
-
Gochujang Guidance: Start with a small amount of gochujang, as it can be quite spicy. You can always add more if you like it hotter!
-
Prep Ahead: Chop and prep your vegetables in advance to save time during the cooking process. A few minutes of prep can go a long way!
-
Beef Cooking Tip: Avoid overcooking the minced beef; it should be perfectly browned but still juicy. Keep an eye on it to ensure it stays tender.
-
Storing Leftovers: Store any leftover Korean Beef Rice Bowls in airtight containers for up to 3 days. Reheat gently to maintain the beef’s flavor and texture.
-
Make it Yours: Experiment with different veggies or proteins to suit your family’s tastes. This recipe is all about customization, so feel free to get creative!
-
Serving Style: Consider serving the rice bowls with a side of extra kimchi or a light salad to round out the meal and add some variety!
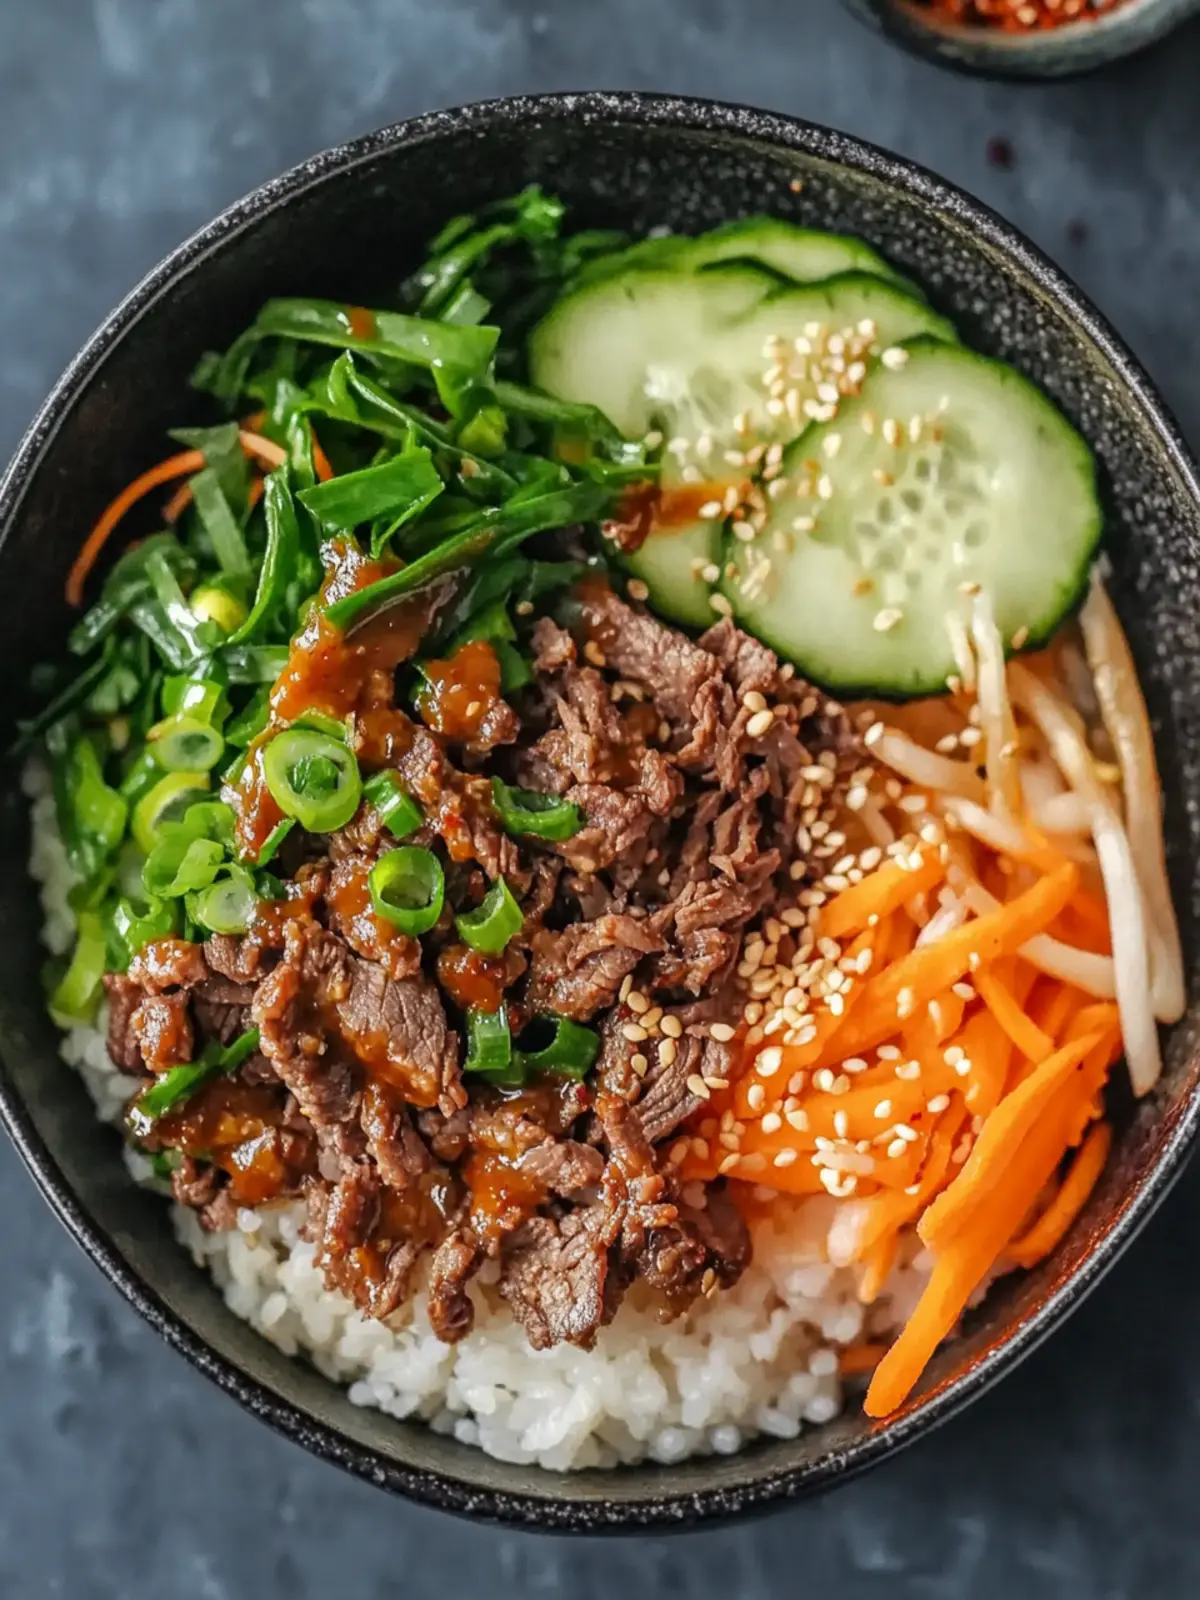
Korean Beef Rice Bowls Recipe FAQs
What type of minced beef is best for Korean Beef Rice Bowls?
Absolutely! Using lean minced beef like 90% lean ground beef works best, as it offers a nice balance of flavor and health. If you’re looking for a lighter option, ground turkey or even crumbled tofu can give you that same hearty feeling while cutting down on fat.
How do I know when my ingredients are ripe for use?
The key is to look for visual cues! Fresh garlic and ginger should be firm and free of any dark spots. For vegetables like carrots and cucumbers, pick ones that feel crisp and firm. If there are dark spots or soft areas, it’s best to skip those. Freshness ensures your Korean Beef Rice Bowls have the best flavor!
Can leftovers be stored and for how long?
Yes! Leftover Korean Beef Rice Bowls can be stored in separate airtight containers for up to 3 days in the refrigerator. To maintain the texture of the beef, kindly reheat it on low heat in a skillet, or microwave it gently. A little splash of water can help prevent it from drying out.
How can I freeze the beef mixture for later use?
While the complete dish doesn’t freeze well, you can freeze the beef mixture separately! Allow it to cool completely, then spoon it into freezer-safe bags, removing as much air as possible. It can be frozen for up to 2 months. When ready, simply thaw in the fridge overnight and reheat on the stovetop before serving.
What dietary considerations should I keep in mind?
Very! If you’re cooking for someone with dietary restrictions, this recipe is quite versatile. You can substitute soy sauce with tamari for a gluten-free option, and ground beef can be swapped for plant-based meat alternatives. Always check for allergies, particularly to sesame oil or eggs in the mayo drizzle.
What should I do if I want a milder spice level in my Korean Beef Rice Bowls?
If you prefer a gentler flavor, start by using just 1 teaspoon of gochujang, testing as you go. You can always add more if you’d like a spicier kick! Alternatively, omitting the gochujang altogether and replacing it with a mild tomato paste can yield a comforting dish without the heat.
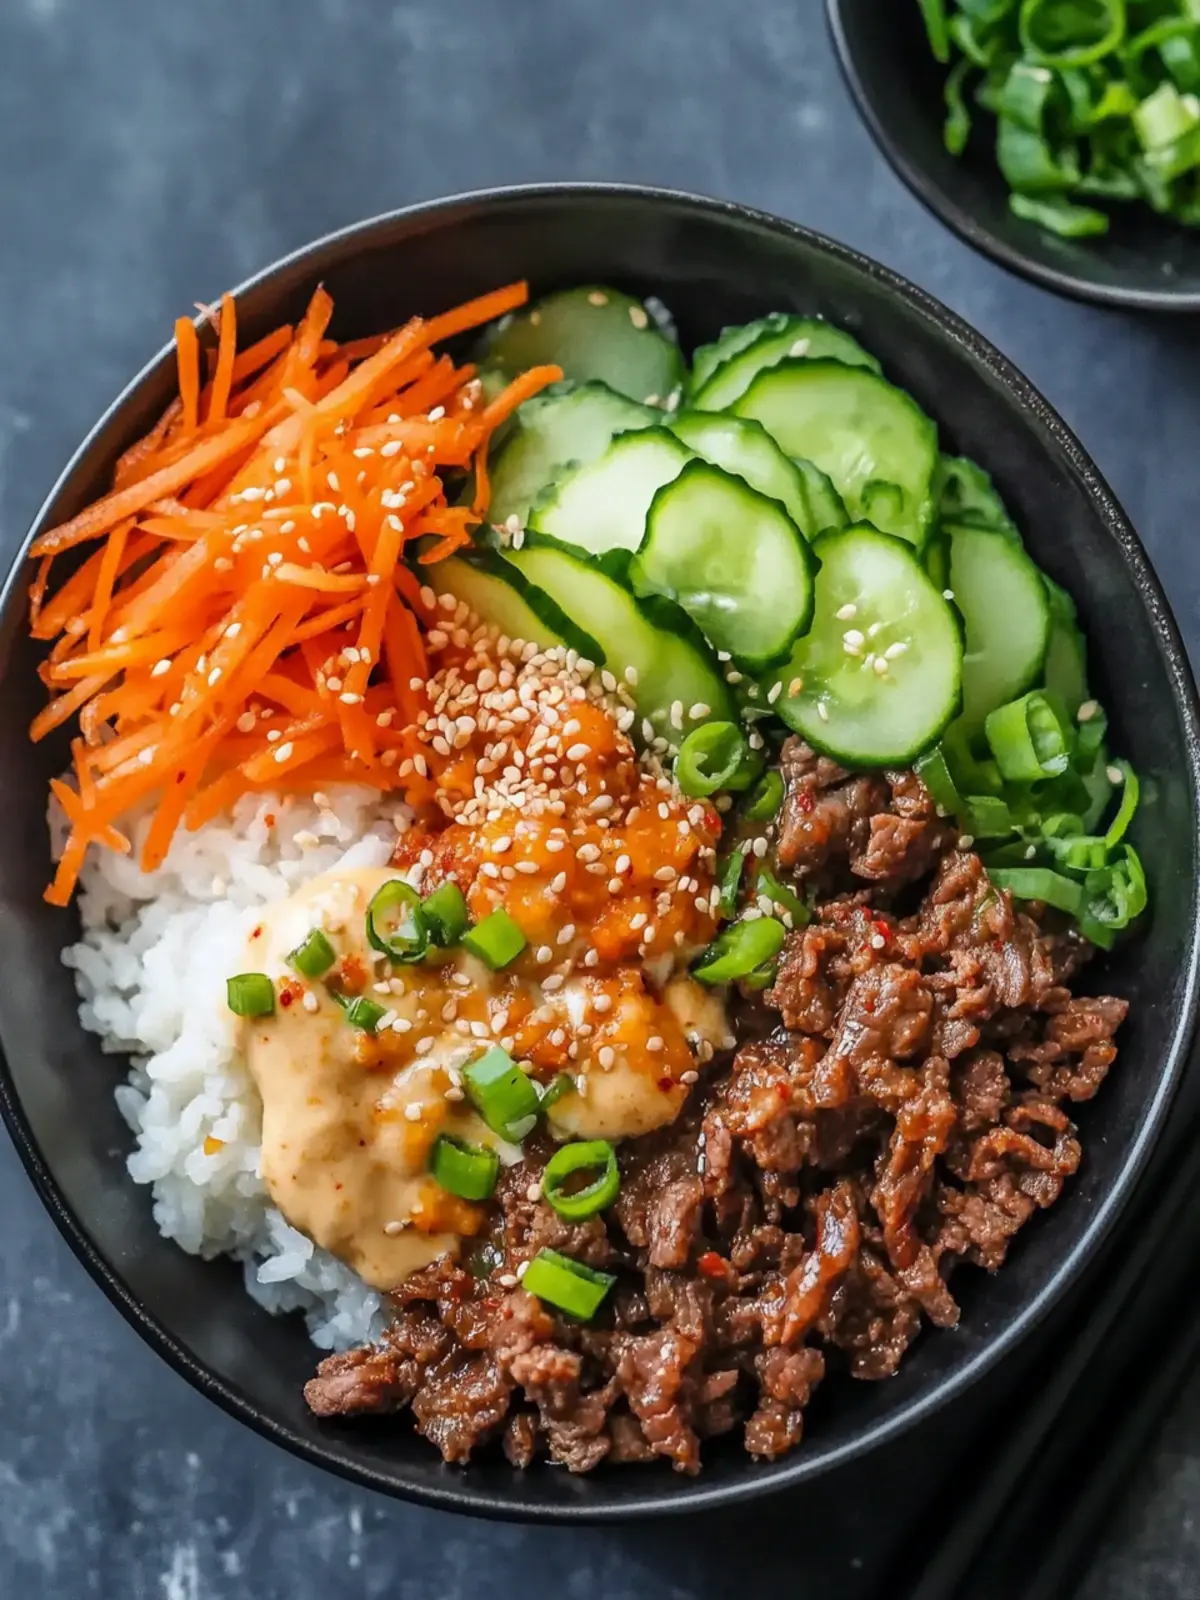
Savory Korean Beef Rice Bowls Ready in Just 20 Minutes
Ingredients
Equipment
Method
- In a small bowl, whisk together freshly grated garlic, grated ginger, soy sauce, brown sugar, sesame oil, gochujang, rice vinegar, and sesame seeds until well combined.
- Heat a splash of olive oil in a large frying pan over medium-high heat. Add the minced beef, cooking until it’s nicely browned.
- Pour the stir-fry sauce over the browned beef, mixing thoroughly and let it simmer for about 2-3 minutes until the sauce thickens.
- In a separate bowl, mix together whole-egg mayonnaise, gochujang, sesame oil, and rice vinegar until smooth.
- Divide warm cooked jasmine rice among four bowls, top with beef mixture, kimchi, carrot slices, and cucumber. Drizzle with mayo mixture.