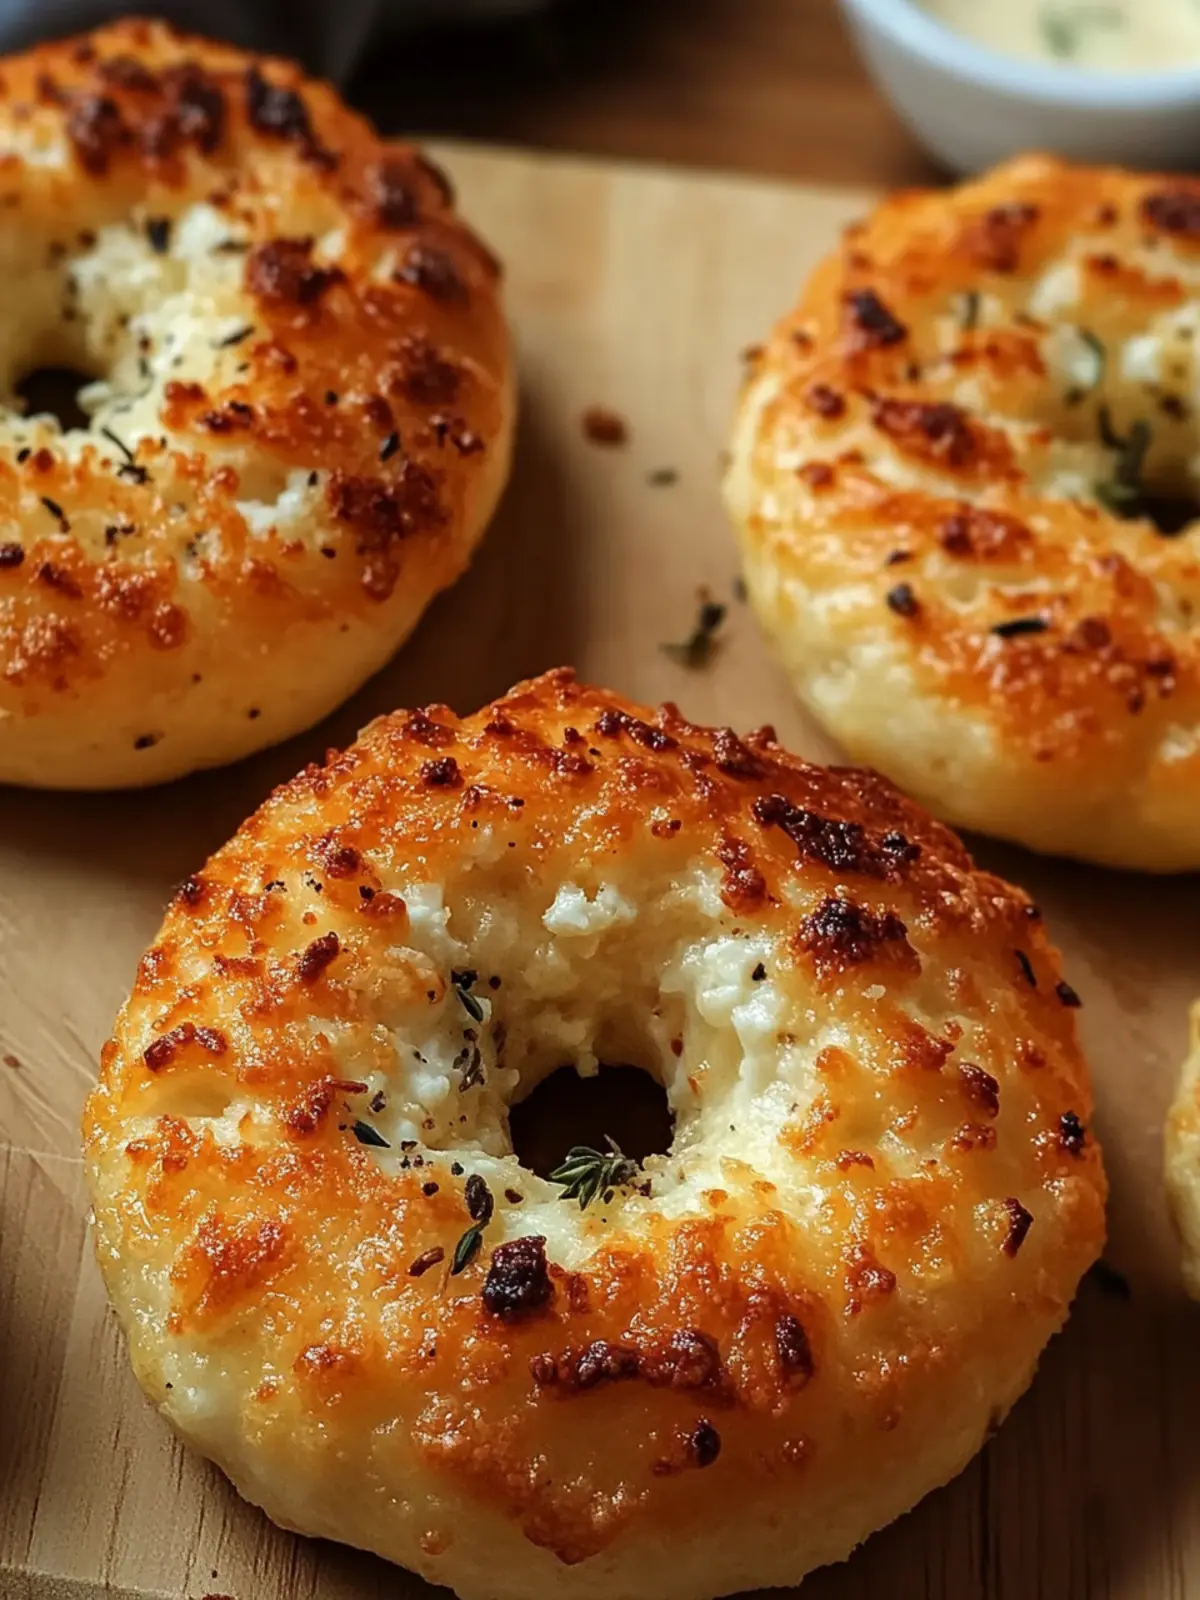
There’s something inexplicably delightful about the unmistakable aroma of garlic and Parmesan wafting through the kitchen, isn’t there? When I decided to experiment with a twist on the classic bagel, I never expected to stumble upon the comforting hug of a Garlic-Parmesan Cottage Cheese Bagel. The moment these golden, cheesy delights came out of the oven, I knew I had discovered a winner!
Perfectly soft and incredibly easy to whip up, these bagels have become my go-to breakfast or snack option. The fluffy interior, combined with that delectable garlicky crust, invites endless possibilities—whether you’re enjoying them warm with butter, creating a savory breakfast sandwich, or savoring them solo with your favorite dip.
If you’re bored of the fast-food routine or looking to impress friends at brunch without spending hours in the kitchen, you’ll love how quickly these come together. Let’s dive in and make these delightful bagels that will soon hold a special place in your home-cooked repertoire!
Why Love Garlic-Parmesan Cottage Cheese Bagels?
Simplicity at its Finest: These bagels come together in no time, making cooking stress-free and enjoyable for everyone.
Delicious Flavor Burst: The combination of garlic and Parmesan provides a rich, savory profile that elevates them beyond the ordinary!
Perfect for Meal Prep: Make a batch and store them for quick breakfasts or snacks all week long.
Versatile & Fun: Enjoy them on their own, spread with cream cheese, or transformed into hearty breakfast sandwiches.
Crowd-Pleasing Treat: Whether for brunch or a casual snack, they’re sure to impress family and friends alike!
You’ll find that these bagels fit perfectly into any occasion; try serving them warm for the ultimate experience!
Garlic-Parmesan Cottage Cheese Bagels Ingredients
- For the Dough
• All-purpose flour – Provides structure; no substitutions recommended for best results.
• Baking powder – Acts as a leavening agent, ensuring your bagels rise beautifully; ensure it’s fresh for effective rising.
• Salt – Enhances flavor; use less if watching sodium intake.
• Cottage cheese – Adds moisture, flavor, and protein; Greek yogurt can be used as a substitute, though it may soften the dough.
• Eggs – Binds ingredients and adds richness; for a vegan option, use flax eggs.
• Olive oil – Provides richness and moisture; can be replaced with melted butter for a different flavor.
• Garlic – Delivers a strong, aromatic flavor; use fresh garlic for a more robust taste or garlic powder for convenience.
• Parmesan cheese – Adds cheesiness and flavor; substitute with any hard cheese like Pecorino if desired.
These Garlic-Parmesan Cottage Cheese Bagels are the perfect blend of flavor and comfort—let’s get cooking!
How to Make Garlic-Parmesan Cottage Cheese Bagels
-
Preheat Oven: Start by preheating your oven to 375°F (190°C). Prepare a baking sheet by lining it with parchment paper for easy cleanup.
-
Mix Dry Ingredients: In a large mixing bowl, combine the all-purpose flour, baking powder, and salt. Stir them together until well incorporated.
-
Blend Wet Ingredients: In a separate bowl, mix the cottage cheese, eggs, olive oil, minced garlic, and Parmesan cheese until smooth and creamy. This mixture will enhance the bagels’ flavor and texture.
-
Combine Mixtures: Gradually add the wet ingredients to the dry ingredients. Stir gently until a dough begins to form, bringing the mixture together without overworking it.
-
Knead Dough: On a floured surface, knead the dough for about 2–3 minutes. You want it to be smooth and cohesive, not sticky.
-
Shape Bagels: Divide the dough into 6 equal pieces. Shape each piece into a ball, then poke a hole in the center and gently stretch it to create the classic bagel shape.
-
Prepare for Baking: Place the shaped bagels onto the prepared baking sheet. For that extra cheesy touch, sprinkle them with additional Parmesan cheese.
-
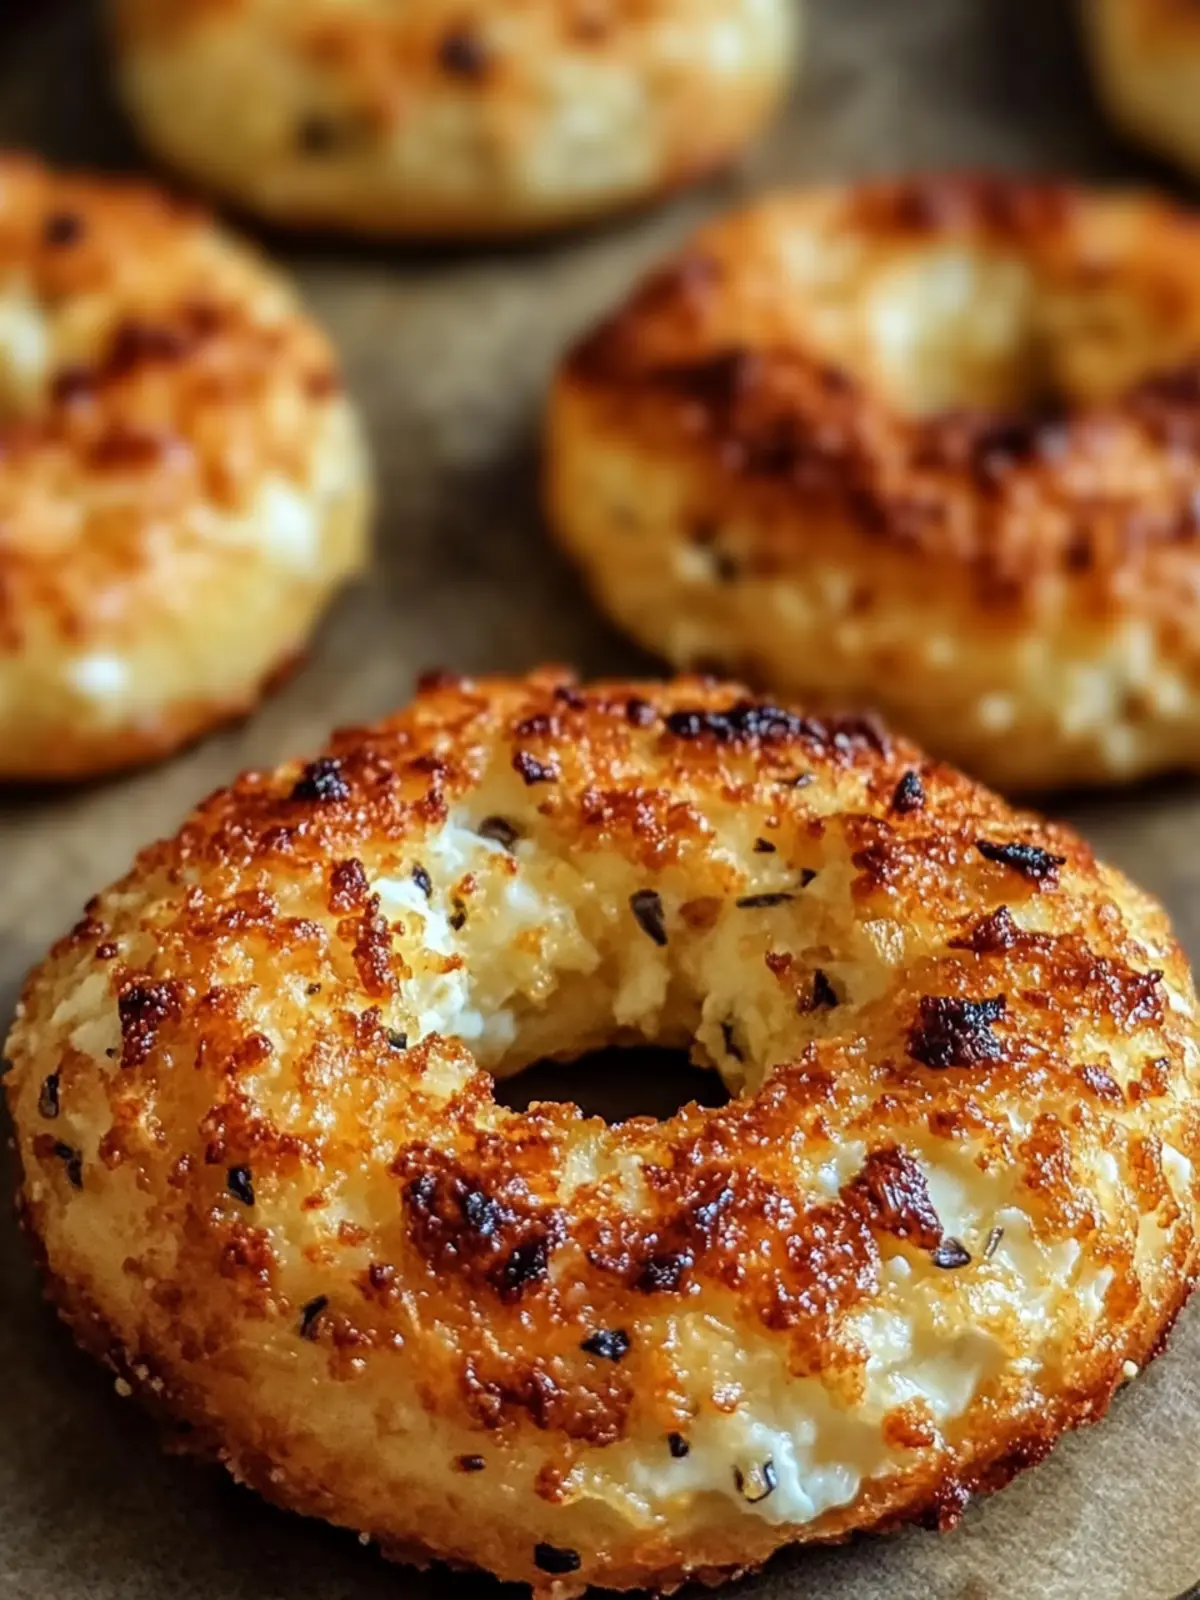
Bake: Bake in the preheated oven for 20–25 minutes or until they are golden brown and cooked through. You’ll know they’re ready when they have a lovely golden crust.
-
Cool & Serve: Allow the bagels to cool slightly before serving. Enjoy them warm for the best experience!
Optional: For an added touch, serve with a spread of cream cheese or your favorite dip!
Exact quantities are listed in the recipe card below.
What to Serve with Garlic-Parmesan Cottage Cheese Bagels?
Imagine a delightful brunch spread where every bite sings in harmony with these cheesy, garlicky bagels, creating comfort and joy in each mouthful.
-
Creamy Avocado Spread: A velvety avocado spread adds creaminess and a fresh touch, perfectly balancing the savory cheese notes. Spread it thickly to create a rich and satisfying bite.
-
Herbed Cream Cheese: Fluffy, herbed cream cheese elevates your bagels with a burst of freshness. Each bite wrapped in a soft, herby embrace makes for a luscious treat!
-
Roasted Veggies: Caramelized roasted vegetables introduce a sweet earthiness, enhancing your bagel experience. Paired together, they create a medley of flavors sure to delight.
-
Scrambled Eggs: Fluffy scrambled eggs crowned atop a warm bagel brings protein and comfort to your meal. Add a sprinkle of chives for a beautiful finish!
-
Fresh Fruit Salad: A vibrant fruit salad with juicy berries and citrus provides a refreshing contrast, cleansing your palate between savory bites.
-
Mimosas: Bright and bubbly mimosas make any brunch special! The citrusy zing pairs well with the savory flavors while adding a festive feel.
-
Cheesy Garlic Butter: For an indulgent twist, slather some homemade garlic butter atop your bagels. The melting cheese adds an extra layer of deliciousness that’s simply irresistible.
-
Spinach Salad: A crisp spinach salad with lemon vinaigrette offers a light, refreshing counterpoint. The acidity perfectly complements the cheesy warmth of your bagels.
How to Store and Freeze Garlic-Parmesan Cottage Cheese Bagels
Room Temperature: Store bagels in an airtight container at room temperature for up to 3 days to maintain softness and flavor.
Freezer: For longer storage, wrap cooled bagels individually in plastic wrap and place them in a freezer-safe bag. They can be frozen for up to 1 month.
Reheating: To enjoy them fresh, reheat thawed bagels in the oven at 350°F (175°C) for about 10 minutes to restore their crispy crust while keeping the fluffy interior intact.
Prepping Ahead: Preparing and freezing your Garlic-Parmesan Cottage Cheese Bagels ahead of time means you always have a quick, delicious snack or breakfast option on hand!
Variations & Substitutions for Garlic-Parmesan Cottage Cheese Bagels
Feel free to unleash your creativity and personalize these bagels to your taste preferences!
- Greek Yogurt: Swap cottage cheese for Greek yogurt for a tangier flavor and added protein. It will yield a different texture but remains deliciously soft.
- Herb Infusion: Add fresh herbs like chives, dill, or oregano into the dough for an aromatic twist. The pop of color and flavor will elevate your bagels beautifully!
- Cheese Alternatives: Experiment with different cheeses like feta or sharp cheddar for a unique flavor profile. Each cheese brings its character, so choose one that stirs your culinary passions!
- Spice It Up: Incorporate red pepper flakes or smoked paprika for a slight kick. A little heat adds excitement to the classic garlic and Parmesan flavors!
- Whole Wheat Flour: Swap half of the all-purpose flour with whole wheat flour for a nuttier taste and added fiber. Make sure to adjust hydration slightly, as whole wheat flour absorbs more liquid.
- Sweet Twist: Try adding a tablespoon of honey or maple syrup for a hint of sweetness, perfect for pairing these bagels with jam or honey butter.
- Onion Boost: Add finely chopped onions or scallions to the dough. They complement garlic beautifully, creating a savory depth to the flavor!
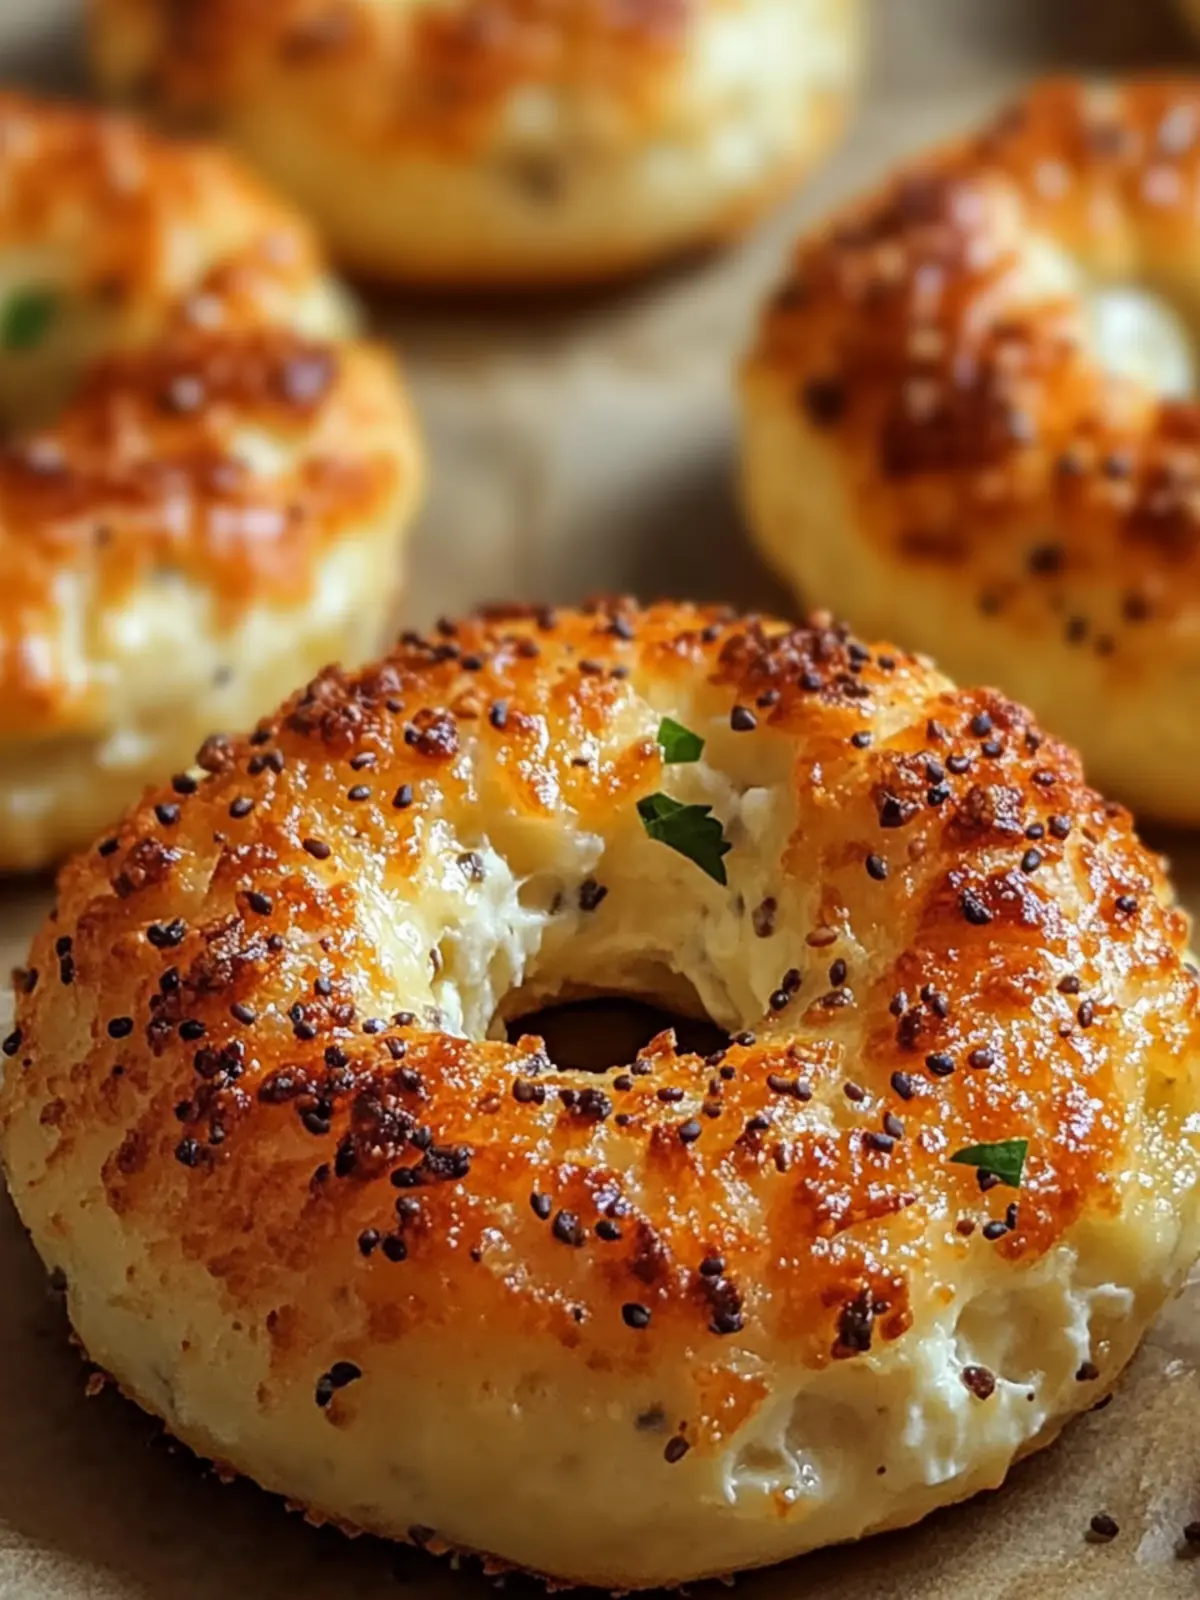
- Seasoned Toppings: Before baking, top with everything bagel seasoning or a sprinkle of sea salt for a crunchy, flavorful crust. These little touches invite crispy, savory goodness in every bite!
Make Ahead Options
These Garlic-Parmesan Cottage Cheese Bagels are perfect for busy home cooks who want deliciousness at their fingertips! You can prepare the dough up to 24 hours in advance; simply follow the instructions up to shaping the bagels and then wrap each piece tightly in plastic wrap. Refrigerating the dough keeps it fresh, and helps maintain its fluffy texture. To bake, just remove the dough from the fridge and shape it as directed before placing on the prepared baking sheet and sprinkling with Parmesan. If you want to freeze them for longer, bake and let cool completely, then store in an airtight container for up to 1 month. Reheat briefly in the oven for a fresh-baked taste that’s just as delightful!
Expert Tips for Garlic-Parmesan Cottage Cheese Bagels
-
Knead Lightly: Don’t over-knead the dough; just 2–3 minutes is enough for a tender texture. This helps maintain the soft, fluffy nature of your Garlic-Parmesan Cottage Cheese Bagels.
-
Fresh Ingredients: Always use fresh baking powder and garlic for the best flavor and rise. Stale ingredients can lead to bagels that don’t rise well or taste flat.
-
Egg Substitutions: If opting for flax eggs to make it vegan, let the mixture sit for a few minutes before adding to the dough to ensure adequate binding.
-
Shaping Tips: To form perfect bagels, make sure to stretch the dough evenly after poking a hole. This ensures they cook uniformly and have a traditional bagel shape.
-
Storage for Freshness: To keep them soft, store any leftover bagels in an airtight container at room temperature for up to 3 days. For longer storage, freeze them for up to 1 month.
Garlic-Parmesan Cottage Cheese Bagels Recipe FAQs
How do I choose the right cottage cheese?
Absolutely! For the best flavor and texture, choose a full-fat cottage cheese with smaller curds. This will provide a creamier consistency in your bagels. Look for containers with a short shelf life, indicating freshness—avoid any with excess liquid or a sour smell.
How should I store my bagels after baking?
It’s very easy! Allow your Garlic-Parmesan Cottage Cheese Bagels to cool completely, then place them in an airtight container. They can be kept at room temperature for up to 3 days. If you have more than you can eat, store any extras in the freezer to preserve their freshness.
Can I freeze these bagels?
Absolutely! To freeze your bagels, first let them cool completely. Individually wrap each bagel in plastic wrap, ensuring there are no exposed areas, then transfer them to a freezer-safe bag. They’ll keep well for up to 1 month. When you’re ready to enjoy, simply thaw at room temperature and reheat in the oven to restore that delightful texture.
What if my bagels don’t rise properly?
Very often, a lack of rise can be attributed to stale baking powder. Always check the expiration date before starting! Also, ensure you’re measuring your ingredients accurately. If you find the dough too dry or dense, consider adding a little water or yogurt to help with hydration.
Can pets safely eat these bagels?
As a general rule, it’s best to avoid giving pets anything containing garlic, including these Garlic-Parmesan Cottage Cheese Bagels, as garlic can be toxic to many animals. Always stick to pet-friendly treats and consult your veterinarian if unsure.
Can I make these bagels gluten-free?
Yes! To make gluten-free Garlic-Parmesan Cottage Cheese Bagels, swap all-purpose flour for a gluten-free all-purpose baking mix that contains xanthan gum. Follow the same instructions, but you may need to adjust the liquid slightly since gluten-free flour can absorb moisture differently. Enjoy the deliciousness without worry!
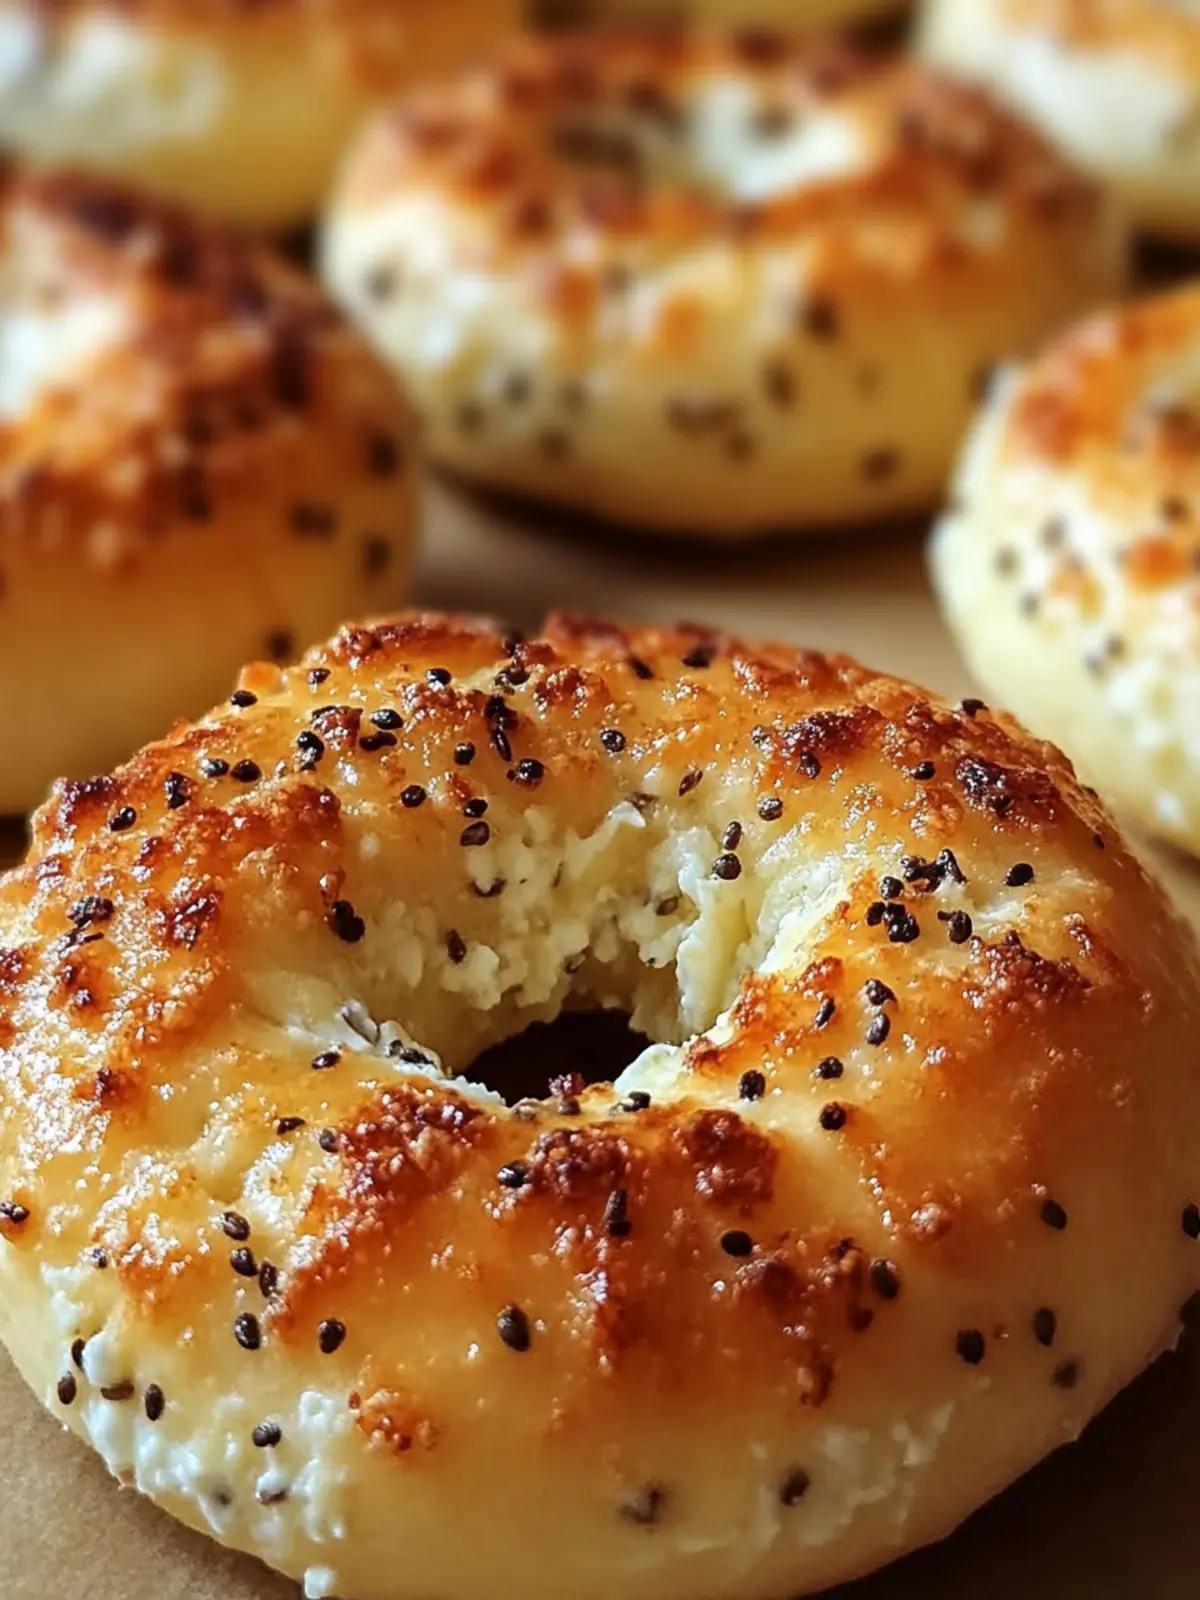
Garlic-Parmesan Cottage Cheese Bagels You'll Crave Daily
Ingredients
Equipment
Method
- Preheat your oven to 375°F (190°C) and prepare a baking sheet lined with parchment paper.
- In a large mixing bowl, combine the all-purpose flour, baking powder, and salt.
- In a separate bowl, mix the cottage cheese, eggs, olive oil, minced garlic, and Parmesan cheese until smooth.
- Gradually add the wet ingredients to the dry ingredients, stirring gently until a dough forms.
- On a floured surface, knead the dough for about 2–3 minutes until smooth and cohesive.
- Divide the dough into 6 equal pieces and shape each into a bagel, poking a hole in the center.
- Place the shaped bagels onto the prepared baking sheet and sprinkle with additional Parmesan cheese.
- Bake for 20–25 minutes until golden brown and cooked through.
- Allow the bagels to cool slightly before serving them warm.