
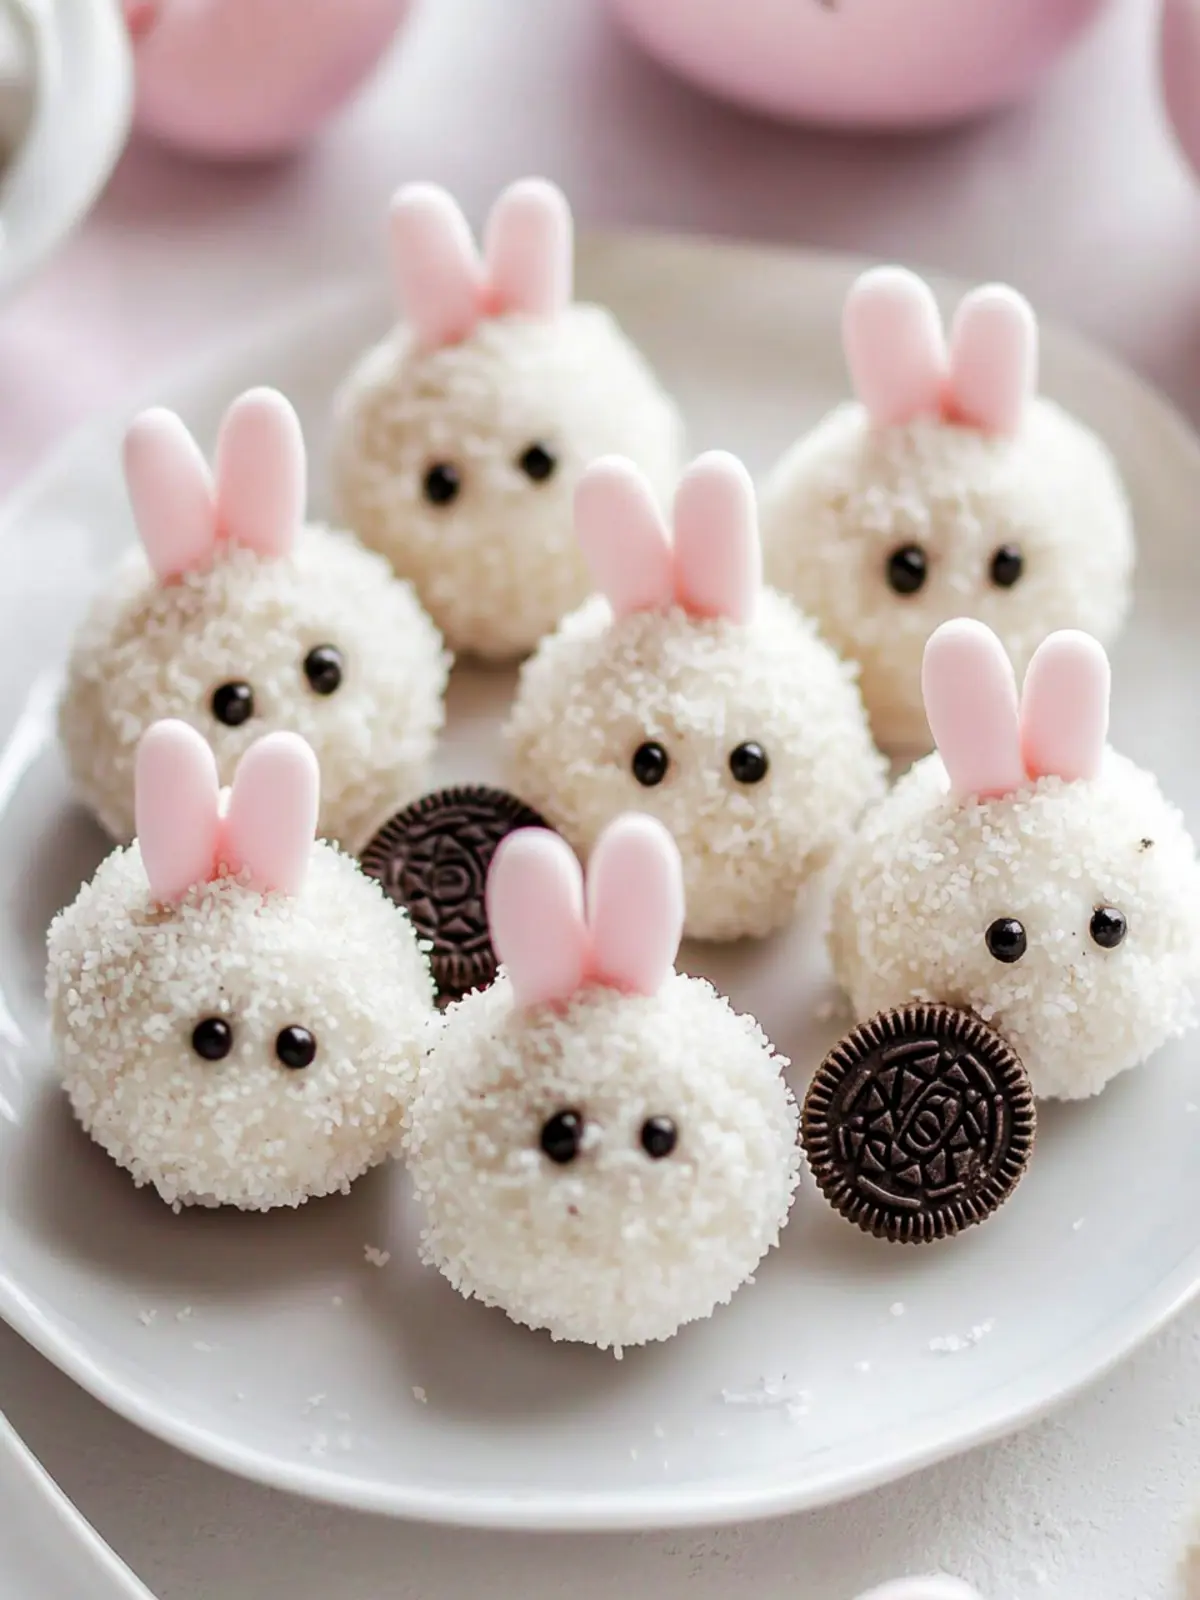
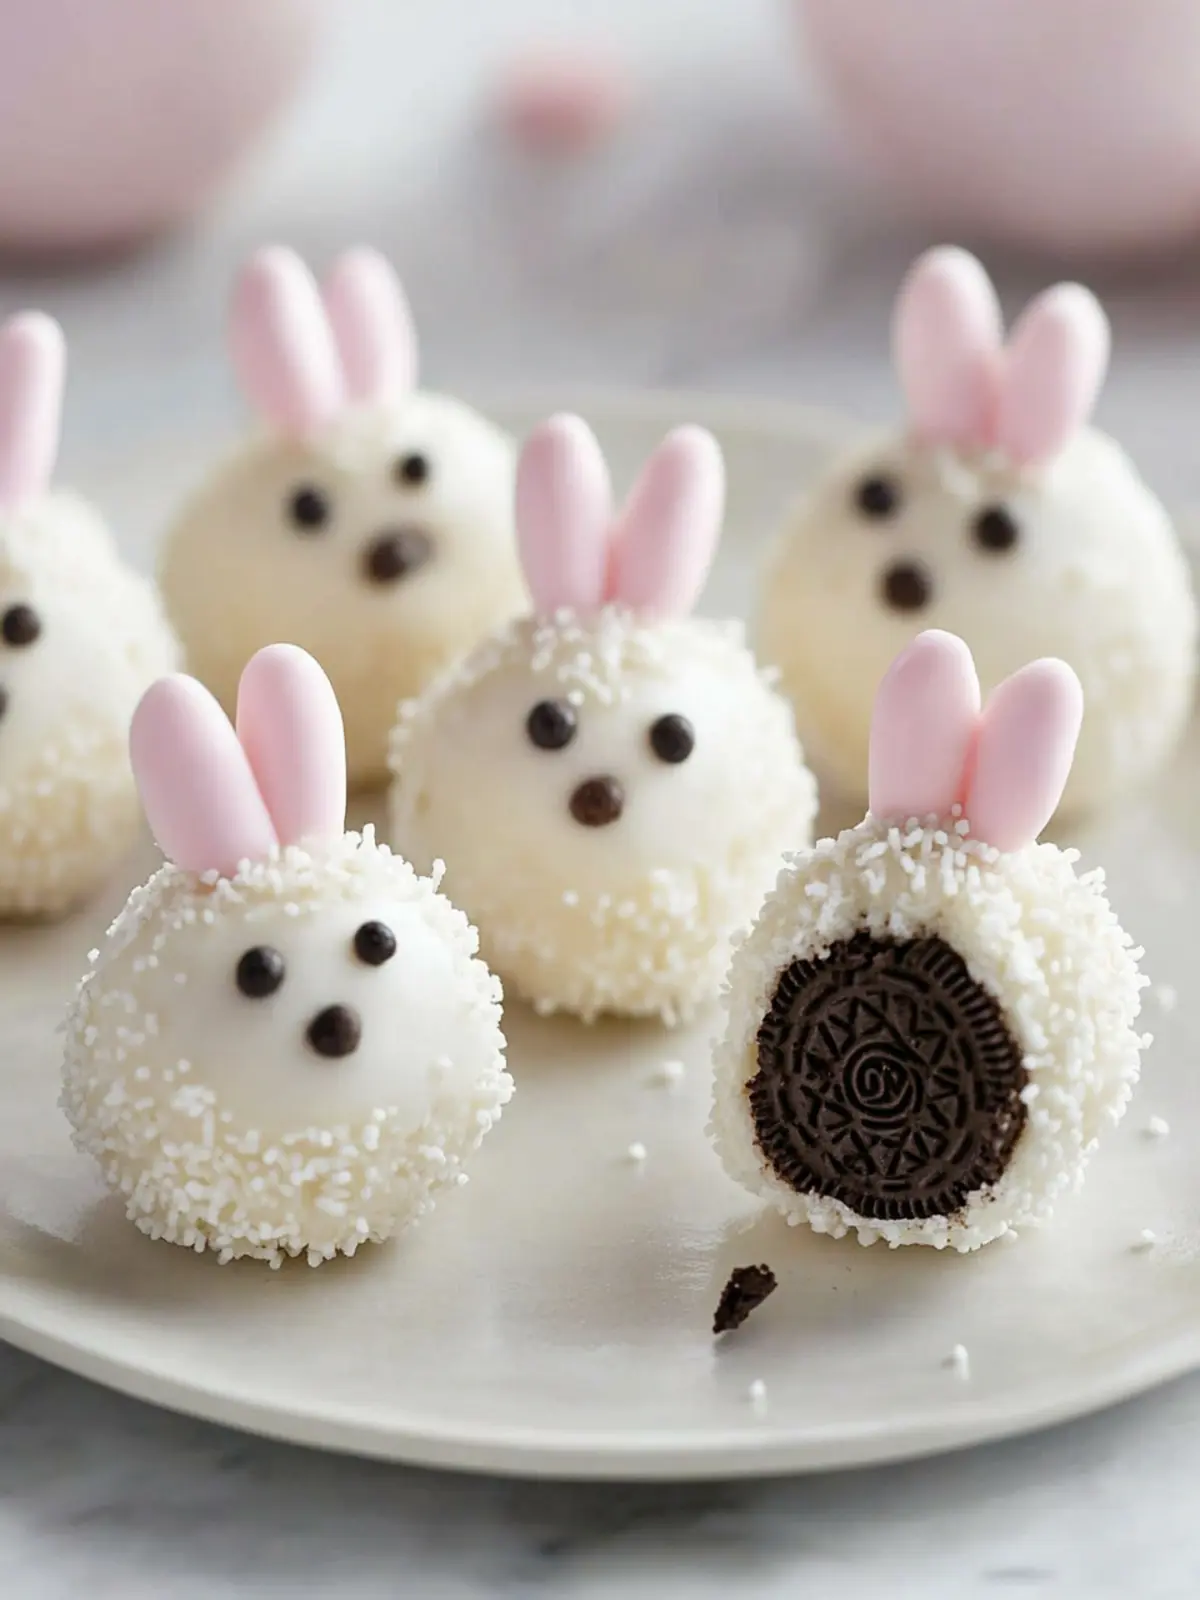
As the vibrant hues of spring start to bloom, my kitchen transforms into a bustling workshop of creativity and delight. One of my absolute favorite no-bake treats to whip up are these adorable Bunny Oreo Balls—the perfect treat for adding a sprinkle of joy to any festive gathering, especially Easter! With their rich, creamy Oreo filling enveloped in a smooth chocolate coat, these little bunny delights are not just visually charming but also incredibly easy to make.
Engaging kids in the kitchen has never been simpler or more fun; with a few simple ingredients and a dash of imagination, we can create delightful bunny faces that are sure to elicit giggles and smiles. Whether you’re a seasoned chef looking for a crowd-pleaser or a parent seeking an engaging dessert project, these Bunny Oreo Balls offer versatility and an irresistible taste that everyone will love. So, gather your ingredients and dive into this delightful recipe that captures the essence of springtime celebrations!
Why Choose Bunny Oreo Balls for Easter?
Unparalleled Fun: These Bunny Oreo Balls are not just delicious; they’re a delightful project for kids, fostering creativity and making memories in the kitchen.
No-Bake Convenience: Skip the oven! This easy recipe requires no baking, allowing you to whip up these treats in no time, perfect for busy schedules.
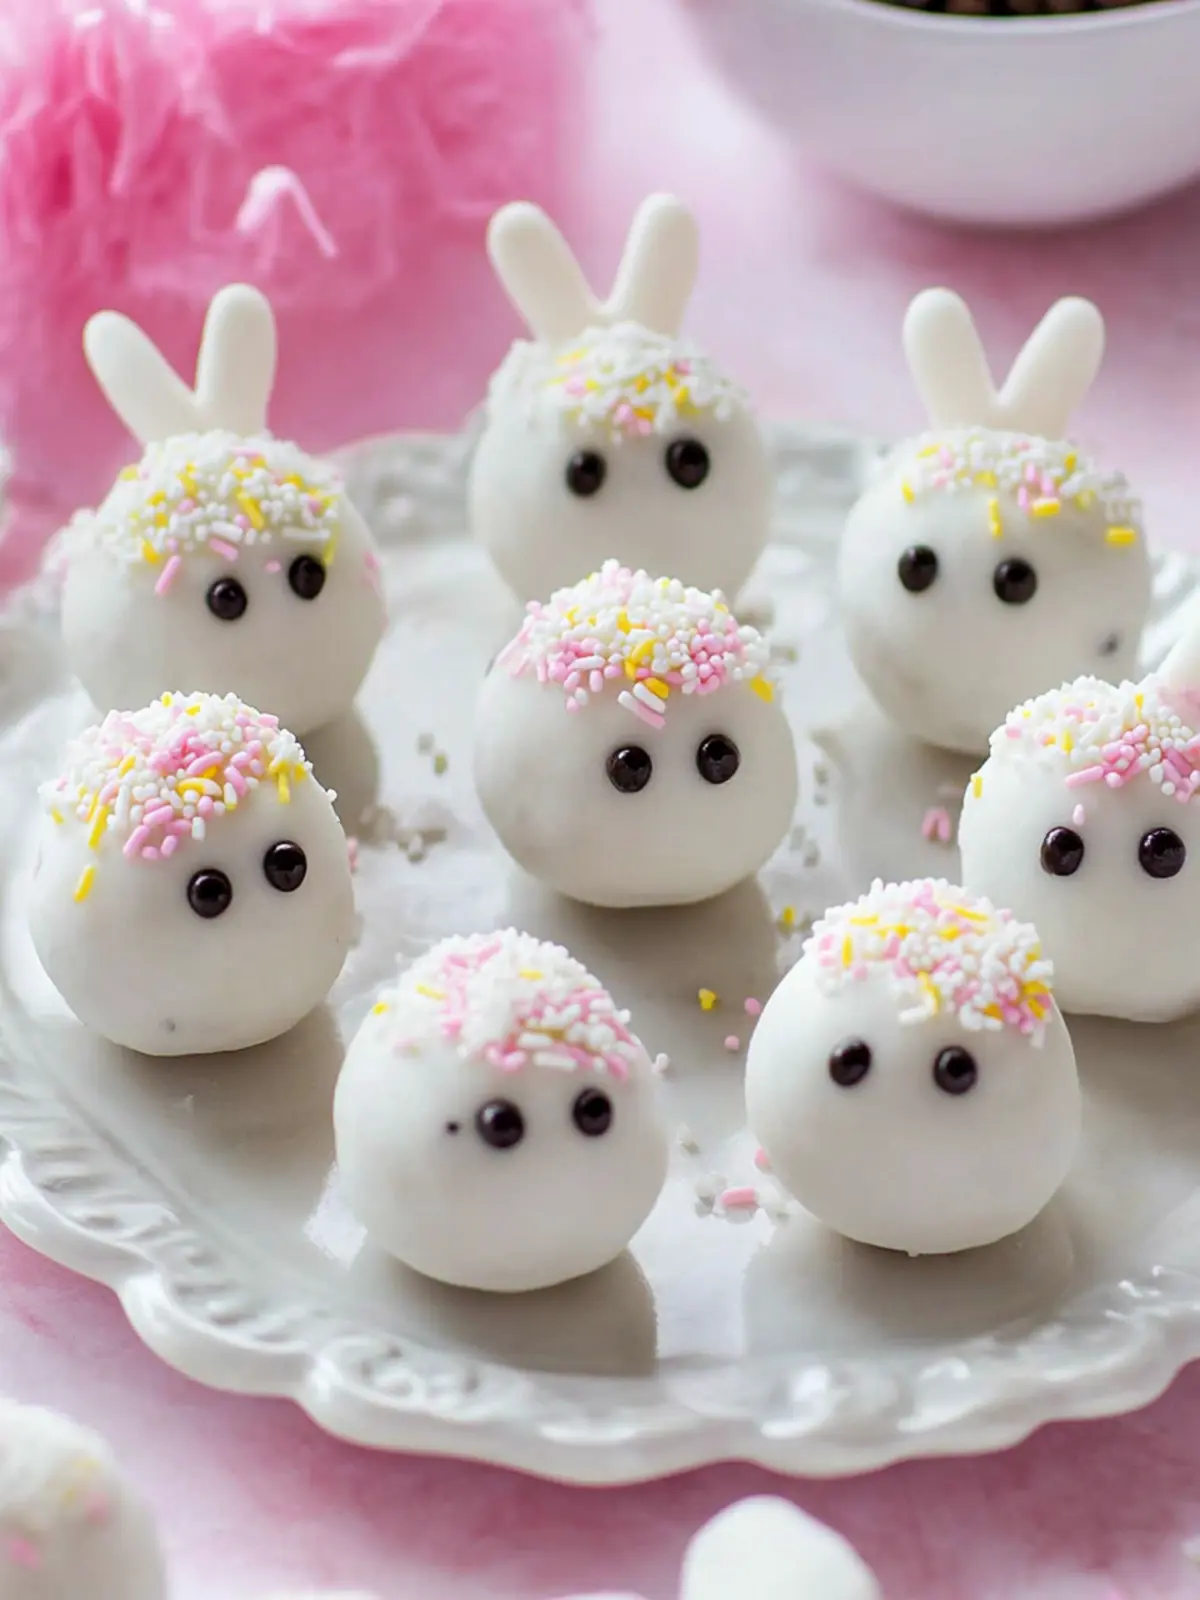
Customizable Creations: Feel free to personalize these treats by switching up decorations for any occasion—think colored melts or different sprinkles for holidays beyond Easter!
Irresistible Flavor: The creamy Oreo filling pairs wonderfully with a sweet chocolate coating, ensuring every bite is a luscious treat your family and friends will adore.
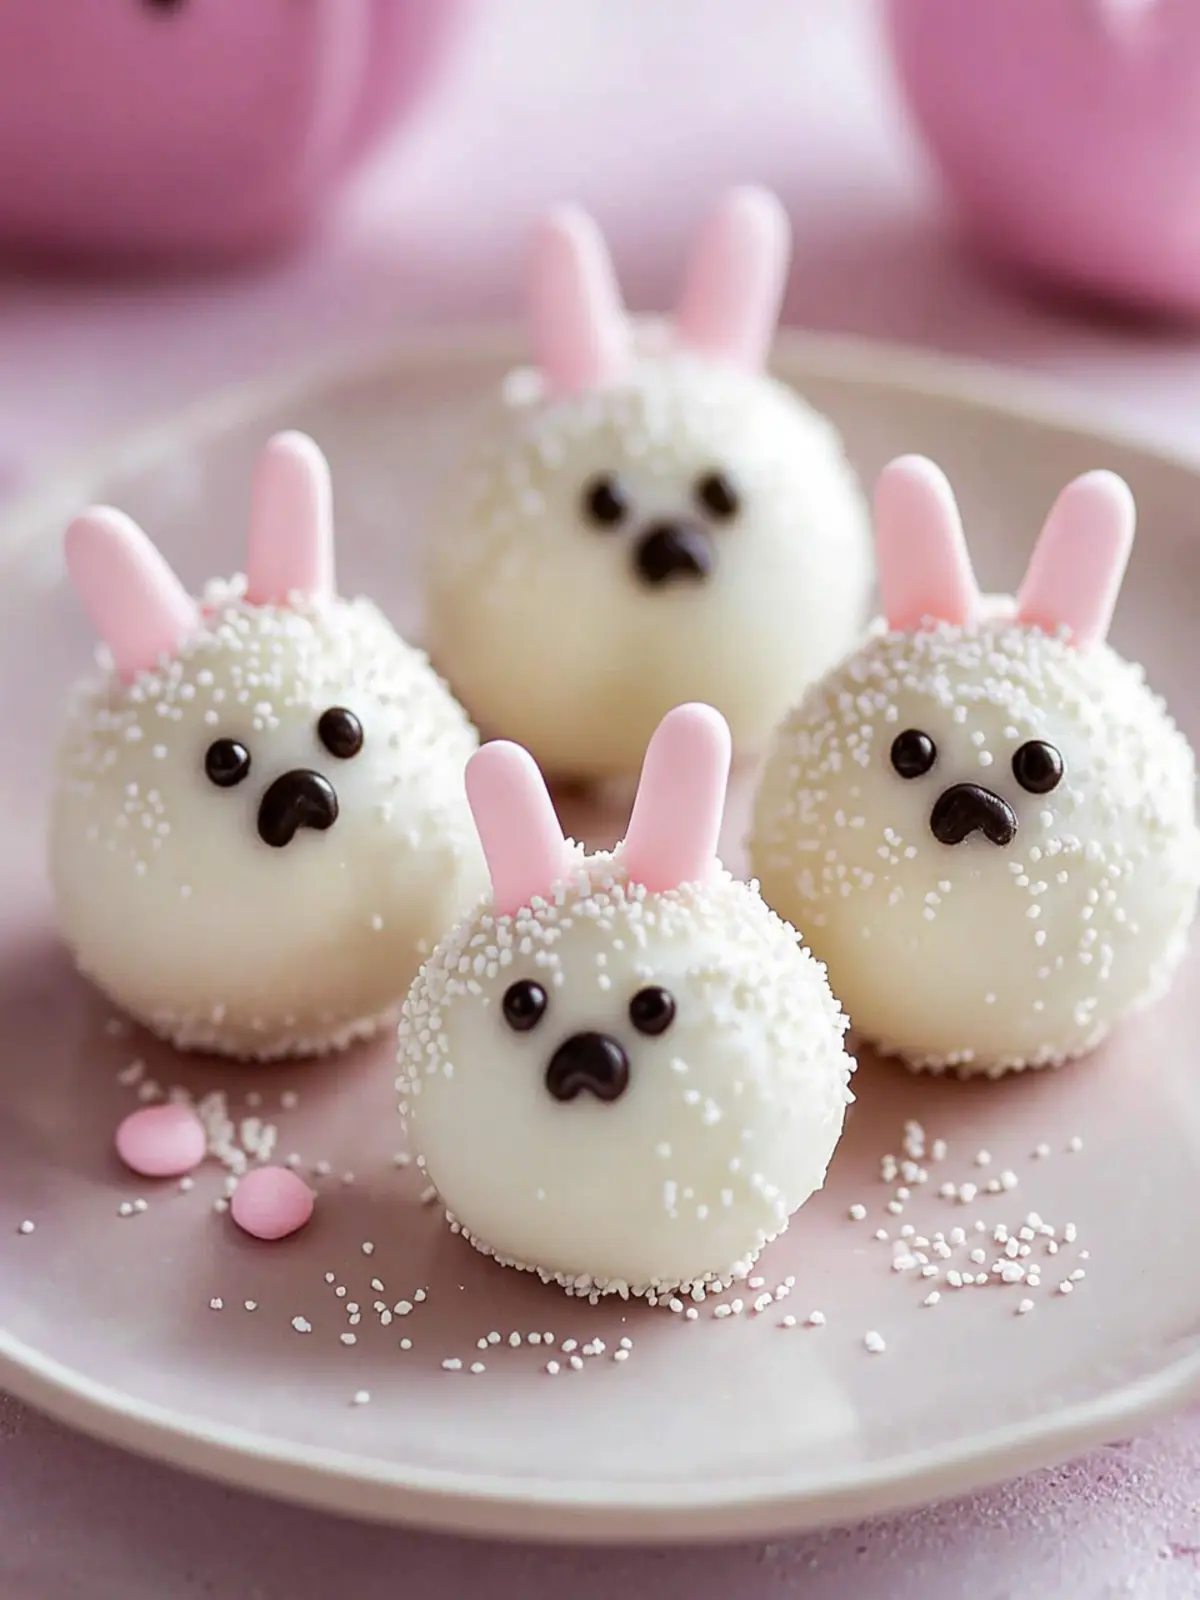
Visual Appeal: With their cute bunny design, these treats make a charming centerpiece for your festive gatherings, guaranteed to wow your guests and brighten up any dessert table.
Make-Ahead Magic: Prepare these Bunny Oreo Balls in advance and store them in the fridge for up to five days, making them a fantastic option for stress-free holiday planning.
Bunny Oreo Balls Ingredients
For the Oreo Filling
- Oreo Cookies – The star of this recipe, providing a delicious chocolate flavor; feel free to use any chocolate sandwich cookie as a substitute.
- Cream Cheese – Adds richness and binds the mixture together; mascarpone can be used for a creamier texture if desired.
For the Coating
- White Chocolate/Candy Melts – Creates a smooth chocolate coating that perfects the Bunny Oreo Balls; dark chocolate can be a delightful alternative for a richer taste.
For the Decoration
- Mini Marshmallows – These transform into adorable bunny ears, adding to the fun presentation; no need for substitution here!
- Pink Sugar Sprinkles – Gives a playful touch and charming color to your bunnies; edible glitter could be used for a sparkly variation.
- Black Candy Melts/Edible Markers – Used to draw on facial features, making your bunnies come to life; dark chocolate can also work well if you prefer a DIY approach.
How to Make Bunny Oreo Balls
-
Prepare Oreo Mixture: Crush the Oreo cookies into fine crumbs using a food processor or a rolling pin. Mix these crumbs with softened cream cheese until you achieve a dough-like consistency that sticks together beautifully.
-
Shape the Balls: Scoop out about a tablespoon of the mixture and roll it into a ball, about 1 inch in diameter. Place these on a parchment-lined baking sheet to keep them from sticking as they chill.
-
Refrigerate: Pop the baking sheet into the refrigerator for about 30 minutes. This will firm up the balls, ensuring they hold their shape when coated.
-
Coat with Chocolate: Gently melt the white chocolate or candy melts in a microwave-safe bowl, stirring every 20 seconds until smooth. Dip each chilled ball into the melted chocolate, coating it completely. Return them to the parchment paper to set.
-
Decorate as Bunnies: Cut mini marshmallows in half diagonally to create bunny ears, dip the cut sides in pink sugar sprinkles, and attach to each chocolate-coated ball. Use melted black candy or an edible marker to draw cute eyes and noses on your bunnies.
-
Let Set: Allow the Bunny Oreo Balls to sit until the coating hardens completely. This will take about 15-20 minutes at room temperature, or you can speed it up by popping them in the fridge.
Optional: Add extra color by using pastel-colored chocolate melts for a festive look.
Exact quantities are listed in the recipe card below.
What to Serve with Bunny Oreo Balls?
Treat your family and friends to a delightful feast with these playful Bunny Oreo Balls as the centerpiece!
-
Fresh Fruit Salad: A vibrant mix of seasonal fruits adds freshness and balances the sweetness of the Oreo balls, making for a colorful dish that’s a feast for the eyes.
-
Chocolate Dipped Strawberries: The rich chocolate from the dipped strawberries harmonizes beautifully with the creamy Oreo filling, creating a chocolate lover’s dream duo.
-
Easter Carrot Cake: With its spiced flavor and moist texture, a slice of carrot cake complements the Bunny Oreo Balls perfectly, tying together the Easter theme beautifully.
-
Mini Vanilla Cupcakes: Light and fluffy, these little cupcakes can be topped with pastel frosting, matching the fun vibe of the Bunny Oreo Balls and providing a gentle contrast in texture.
-
Creamy Vanilla Ice Cream: A scoop of smooth ice cream paired with the crunchy chocolate coating of the Oreo balls creates a delicious contrast and keeps the festivities lively.
-
Sparkling Lemonade: Refreshing and zesty, a glass of sparkling lemonade is an ideal drink to serve alongside these treats, brightening up your table while offering a crisp taste.
Unleash your creativity and pair these sweet delights with fun additions that everyone will adore!
Bunny Oreo Balls Variations & Substitutions
Feel free to sprinkle a bit of your personal touch on these Bunny Oreo Balls and make them uniquely yours!
-
Nutty Twist: Mix in 1/4 cup of finely chopped nuts to the Oreo filling for a delightful crunch and additional flavor.
-
Fruit Fusion: Add a teaspoon of raspberry or cherry jam to the mixture for a fruity surprise in every bite. It’s a playful contrast with chocolate!
-
Cookie Variety: Swap out Oreo cookies with any popular chocolate sandwich cookie like Chocolate Thins for a different flavor profile. Your taste buds will dance!
-
Dairy-Free Delight: Use coconut cream instead of cream cheese for a creamy, vegan-friendly alternative to the filling. It’ll be just as delicious!
-
Spicy Surprise: Incorporate a pinch of cinnamon or cayenne into the coating for a surprising kick that will tingle the tastebuds delightfully.
-
Cake Pop Magic: Instead of rolling into balls, dip the filling onto sticks for a whimsical cake pop version. Kids love a fun twist!
-
Melted Chocolate Coating: For a richer experience, coat with dark chocolate instead of white, delivering a sophisticated flavor that every adult will cherish.
-
Seasonal Colors: Customize your decorations for different holidays—think pastel colored melts for spring, red and green for Christmas, or even orange and black for Halloween. The possibilities are endless!
Expert Tips for Bunny Oreo Balls
-
Check Chocolate Consistency: Ensure your white chocolate or candy melts are fully melted and smooth. Stir in 20-second intervals to avoid clumping and burning.
-
Chill for Shape: Allow the rolled balls to chill for at least 30 minutes. This step is crucial for maintaining their shape while coating them with chocolate.
-
Tacky Surface: When coating with chocolate, let the Bunny Oreo Balls sit for a few minutes after dipping, allowing the surface to become slightly tacky before adding decorations. This helps them adhere perfectly.
-
Storage Solution: Store your Bunny Oreo Balls in an airtight container in the refrigerator for up to 5 days for the best flavor and freshness.
-
Decorating with Kids: Get the kids involved in decorating! Let them personalize their bunny faces with fun sprinkles and designs, turning it into a creative family activity.
-
Customize for Occasions: Don’t hesitate to adapt the decorations for other celebrations. Use colored melts and variations in toppings to match themes beyond Easter!
How to Store and Freeze Bunny Oreo Balls
Room Temperature: Bunny Oreo Balls are best enjoyed fresh; however, they can stay at room temperature for a couple of hours during gatherings, but avoid heat exposure.
Fridge: Store your Bunny Oreo Balls in an airtight container in the refrigerator for up to 5 days to maintain their creamy texture and flavor.
Freezer: To freeze, place the Bunny Oreo Balls in a single layer on a baking sheet, freeze until solid, then transfer to an airtight container for up to 3 months.
Reheating: There’s no need to reheat these treats, as they are delightful when served cold. If frozen, let them thaw in the fridge overnight before enjoying.
Make Ahead Options
These Bunny Oreo Balls are perfect for meal prep! You can prepare the Oreo mixture and shape the balls up to 24 hours in advance; simply roll the mixture into balls, then cover and refrigerate them before coating. This helps the flavors meld together, making them just as delicious when you finish later. When you’re ready to serve, just follow the final steps: melt your chocolate, coat the chilled balls, and decorate with marshmallow ears and candy features. For optimal quality, store any finished Bunny Oreo Balls in an airtight container in the refrigerator for up to 5 days, ensuring they stay fresh and tasty for your Easter celebrations!
Bunny Oreo Balls Recipe FAQs
What type of Oreo cookies should I use?
You can use any chocolate sandwich cookie as a substitute for traditional Oreo cookies. I recommend using double-stuffed Oreos for a richer filling, but regular Oreos work perfectly too!
How should I store Bunny Oreo Balls?
Store your Bunny Oreo Balls in an airtight container in the refrigerator for up to 5 days. Keep them away from strong odors, as they can absorb flavors from other foods. If they’re for a gathering, take them out just before serving to maintain their delectable chill!
Can I freeze Bunny Oreo Balls?
Absolutely! To freeze Bunny Oreo Balls, place them in a single layer on a baking sheet and freeze until solid (about 1-2 hours). Then, transfer them into an airtight container or a freezer bag and store them for up to 3 months. When you’re ready to enjoy them, thaw overnight in the refrigerator.
What if my chocolate coating is clumpy?
If your chocolate is clumping, it likely hasn’t melted smoothly. Always microwave chocolate in short 20-second intervals, stirring in between, until you achieve a silky consistency. If needed, add a teaspoon of vegetable oil to help smooth out any lumps.
Can Bunny Oreo Balls be made gluten-free?
Definitely! Simply use gluten-free chocolate sandwich cookies to ensure everyone can indulge in these delightful treats. They taste just as good, so no one will miss the gluten!
Is there a safe way to involve kids in the decorating process?
Absolutely! Kids love getting creative with these Bunny Oreo Balls. You can supervise them while they dip the marshmallow ears in pink sugar and add facial features. It’s a fantastic way to bond and make lasting memories, ensuring their designs are as unique as their personalities!
Bunny Oreo Balls Your Fun No-Bake Treat for Easter Joy
Ingredients
Equipment
Method
- Crush the Oreo cookies into fine crumbs using a food processor or a rolling pin. Mix these crumbs with softened cream cheese until you achieve a dough-like consistency.
- Scoop out about a tablespoon of the mixture and roll it into a ball, about 1 inch in diameter. Place these on a parchment-lined baking sheet.
- Pop the baking sheet into the refrigerator for about 30 minutes to firm up the balls.
- Melt the white chocolate or candy melts in a microwave-safe bowl, stirring every 20 seconds until smooth. Dip each chilled ball into the melted chocolate, coating it completely.
- Cut mini marshmallows in half diagonally for bunny ears, dip cut sides in pink sugar sprinkles, and attach to each chocolate-coated ball. Use melted black candy or an edible marker for facial features.
- Allow the Bunny Oreo Balls to sit until the coating hardens completely, about 15-20 minutes.