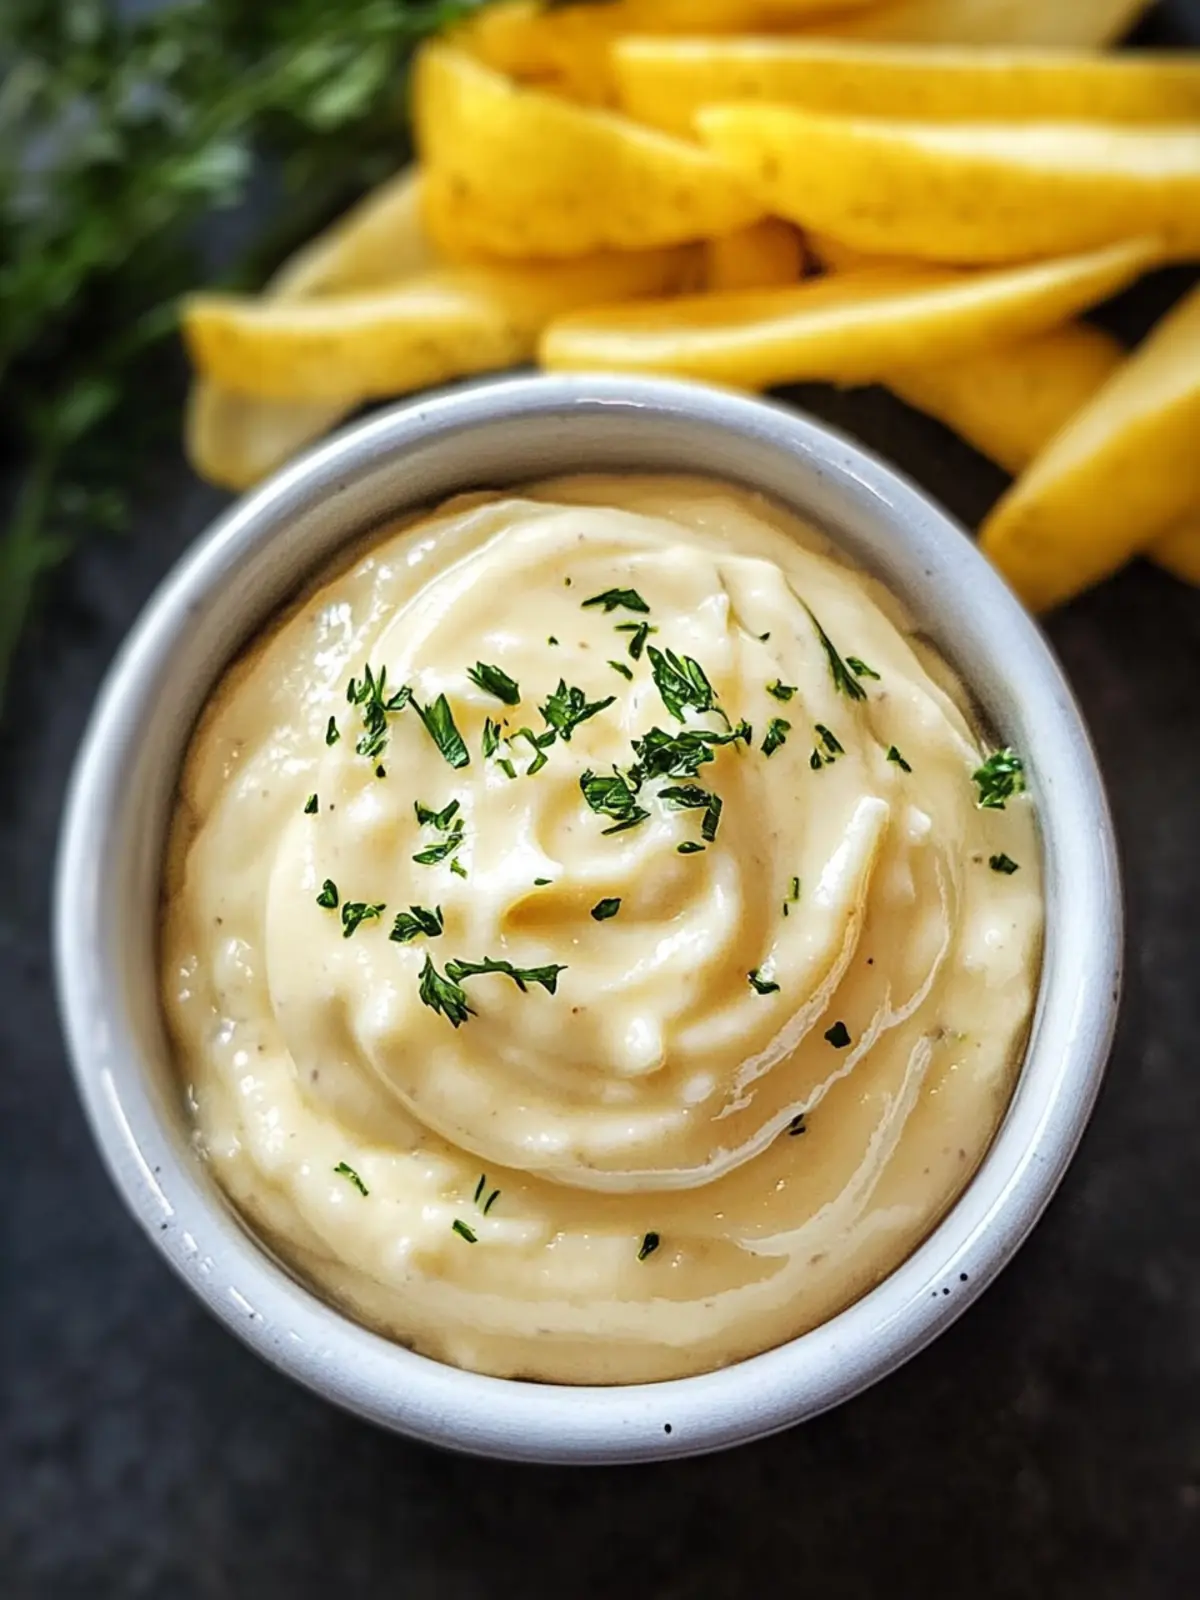
When the craving for something a little more special strikes, I often turn to my go-to aioli recipe. This creamy, garlicky sauce is my secret weapon for elevating everything from simple sandwiches to vibrant roasted veggies. Imagine the rich aroma of fresh garlic mingling with a hint of lemon—it’s a sensory delight that instantly transforms meals into memorable experiences.
What I love most about this aioli is its sheer versatility; in just five minutes, you can whip up this dip, delighting both family and friends. Whether you’re hosting a gathering or just treating yourself on a quiet night at home, this aioli adds that burst of flavor to any dish. Plus, with a base of common ingredients, you can easily customize it to suit your palate. Let’s dive into the recipe and unlock a world of flavor!
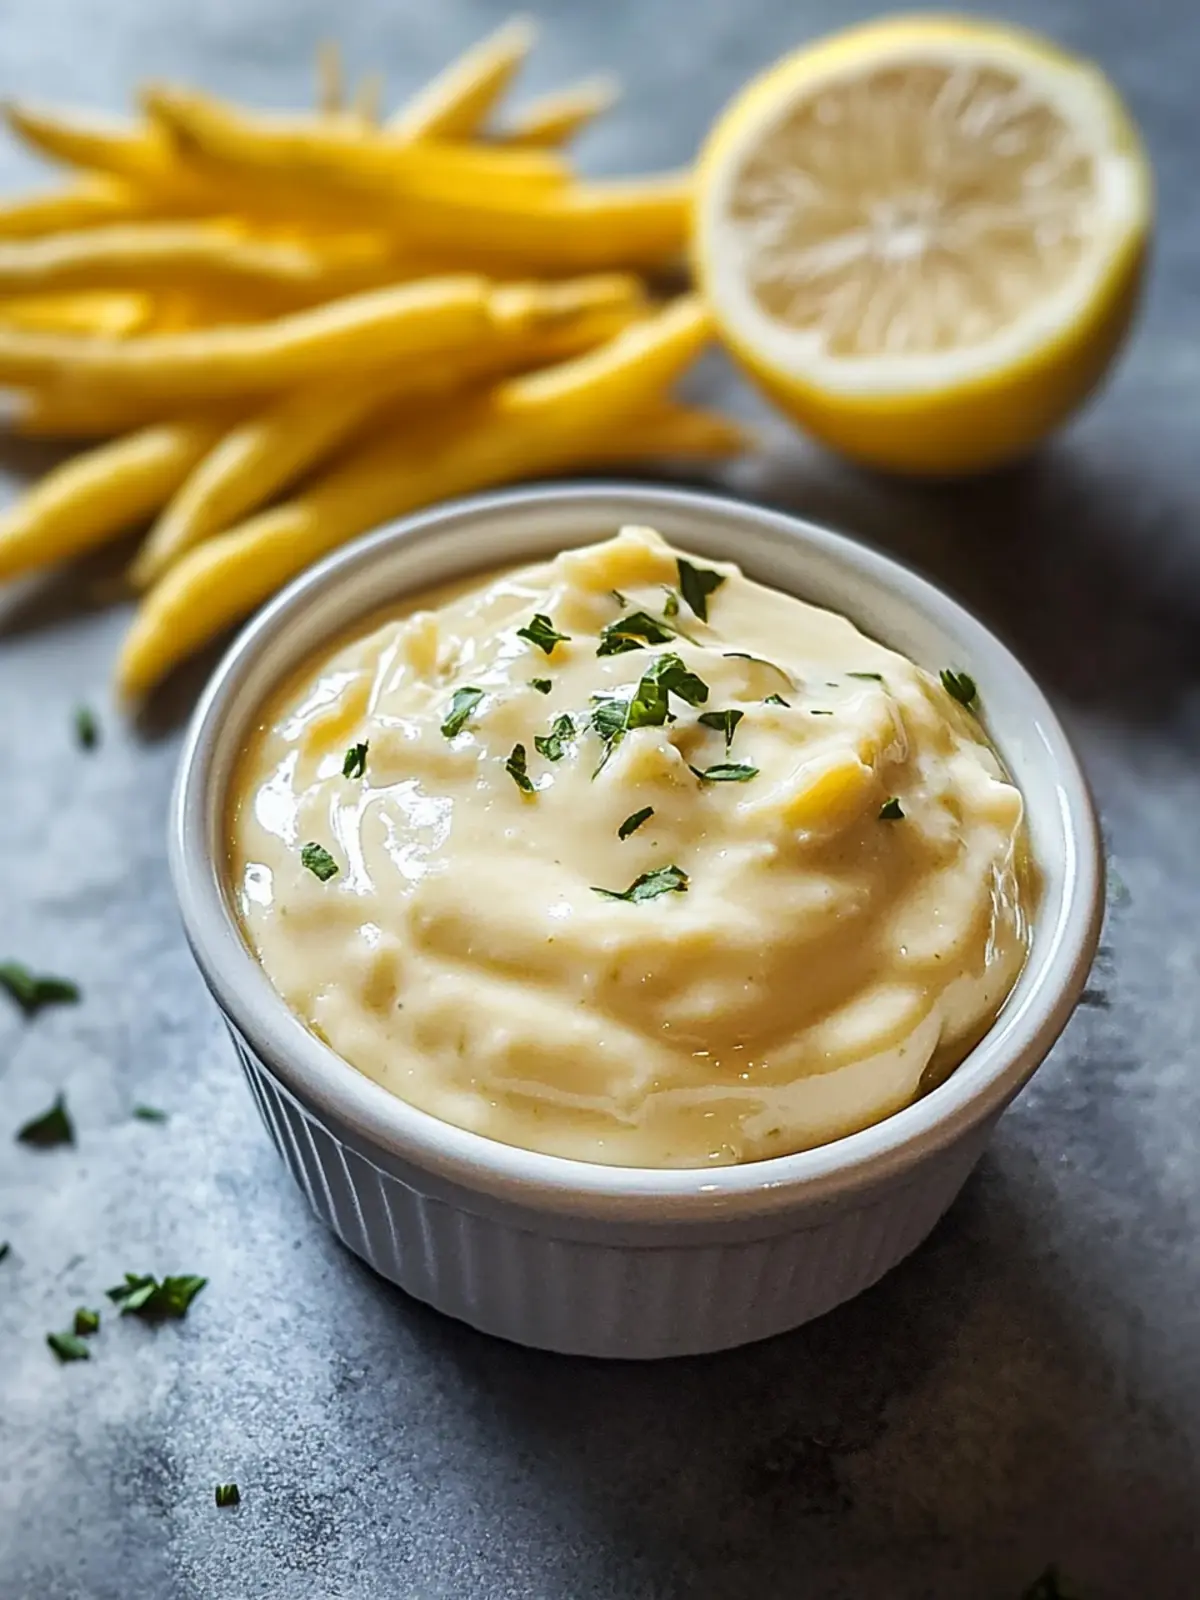
Why is this Aioli Recipe a Must-Try?
Creamy Delight: This aioli recipe is incredibly creamy, making it a perfect addition to countless dishes.
Quick to Make: In just five minutes, you’ll have a rich, flavorful condiment ready to elevate your meals.
Flavor Boost: Fresh garlic and zesty lemon juice create a burst of flavor that’ll impress your guests or family.
Versatile Uses: Use it as a dip, spread, or even salad dressing for an instant upgrade to your favorite foods.
Customizable Option: Feel free to add herbs or spices, such as smoked paprika, for a personal touch.
Crowd-Pleasing: This aioli will wow everyone at your next gathering; it’s the perfect companion to fresh veggies, grilled meats, or sandwiches.
Aioli Recipe Ingredients
For the Base
• Mayonnaise – A creamy base that makes this aioli rich and smooth.
For the Flavor
• Fresh Garlic – Essential for that bold, garlicky punch; always use fresh cloves for the best taste.
• Lemon Juice – Adds a zesty brightness and acidity; vinegar can work as a substitute if needed.
• Black Pepper – Enhances the overall flavor; adjust to your preference for a touch of spice.
For Garnish
• Fresh Parsley – Provides a pop of color and freshness; consider replacing it with dill for a different flavor.
Optional Ingredient
• Ketchup – Adds a hint of sweetness and umami depth; feel free to omit for a more traditional aioli recipe.
How to Make Aioli
-
Combine Ingredients: In a medium bowl, add mayonnaise, minced garlic, lemon juice, black pepper, fresh parsley, and ketchup. This blend creates a rich, flavorful base for your aioli.
-
Mix Thoroughly: Using a whisk or fork, stir the mixture until it’s well combined and creamy. Aim for a smooth consistency for the best texture in your aioli.
-
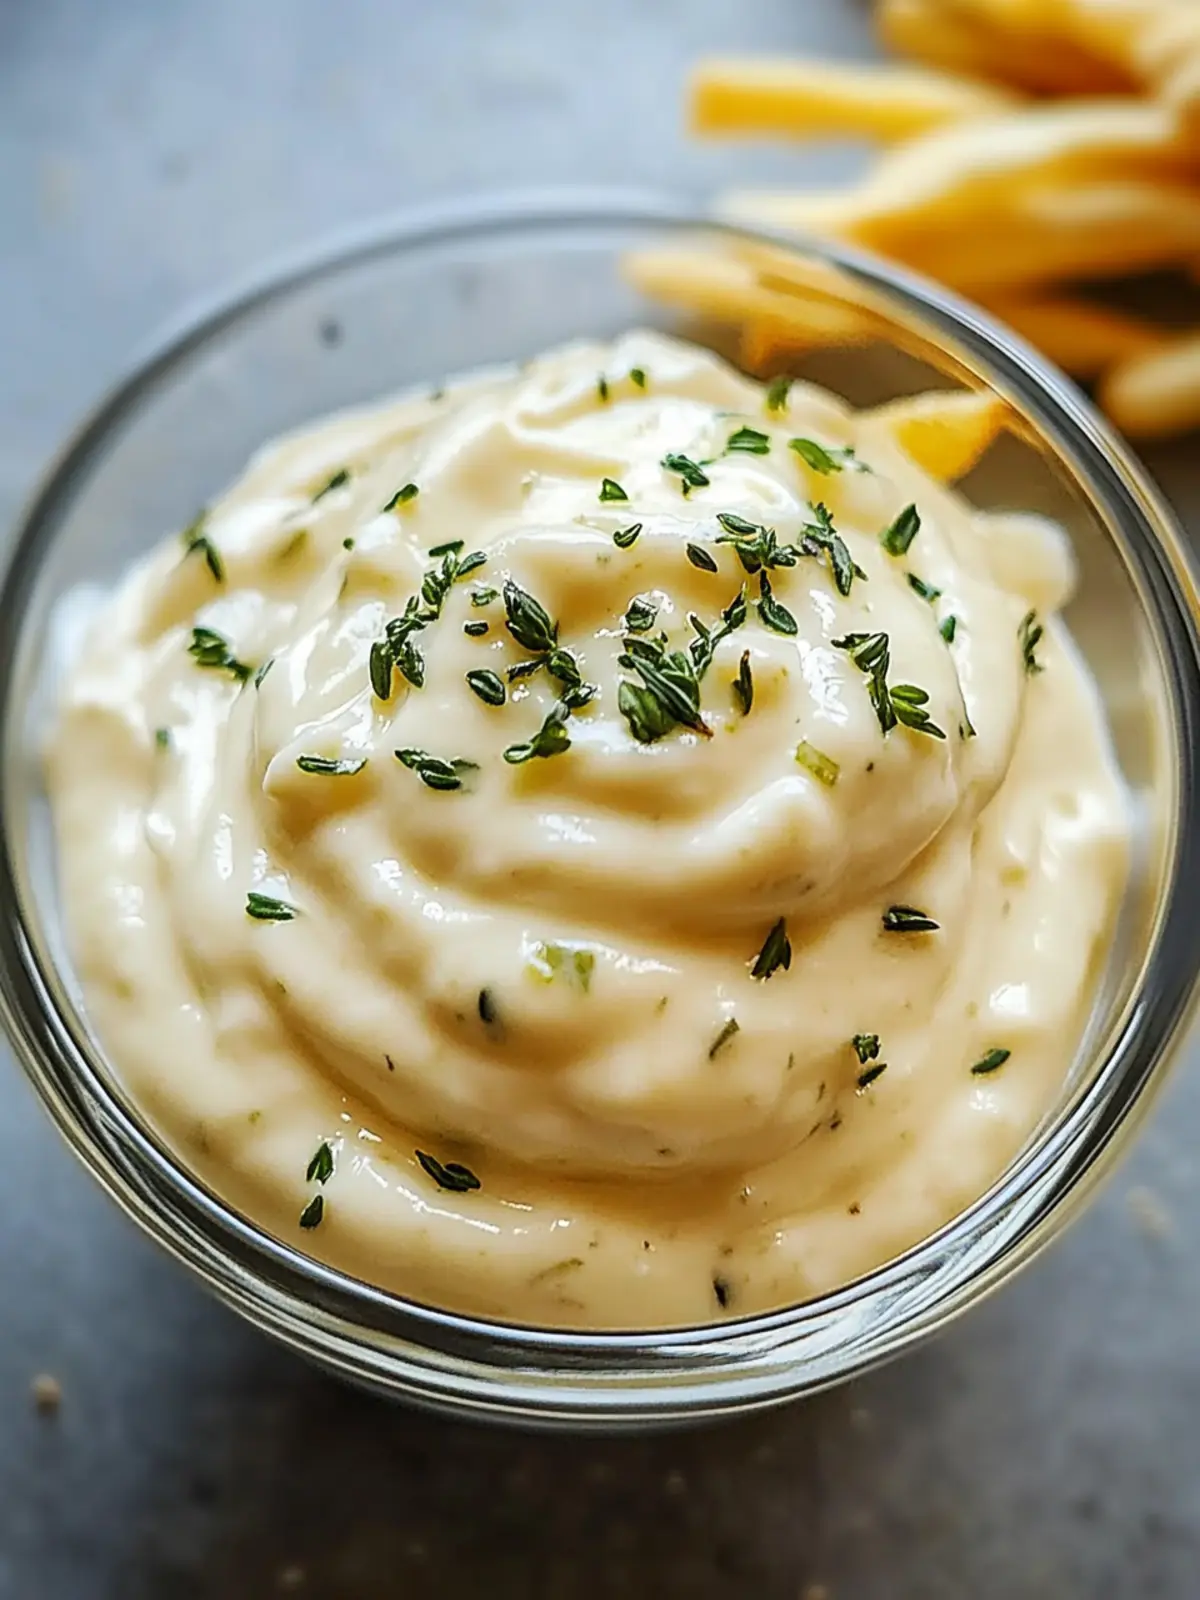
Chill Before Serving: For enhanced flavors, either serve immediately or chill in the refrigerator for at least an hour. This step allows the garlic to mellow and blend beautifully.
Optional: For an extra zing, serve with a sprinkle of extra black pepper on top.
Exact quantities are listed in the recipe card below.
Storage Tips for Aioli
Fridge: Store aioli in an airtight container in the refrigerator for up to one week to keep it fresh and flavorful.
Freezer: For longer storage, freeze your aioli in small quantities using an ice cube tray; it can last up to three months in the freezer.
Thawing: When ready to use, thaw in the fridge overnight and stir gently before serving to restore its creamy consistency.
Reheating: Reheating isn’t necessary; simply toss it into your favorite dish straight from the fridge or thawed.
Expert Tips for the Best Aioli
- Fresh Garlic Only: Always opt for fresh garlic; stale garlic can drastically change the flavor profile of your aioli recipe.
- Taste as You Go: Don’t forget to taste your aioli while mixing; adjusting the seasonings ensures a balanced flavor that suits your palate.
- Gentle Mixing: Mix gently to maintain creaminess; overmixing can lead to a less desirable texture in your aioli.
- Chill for Best Flavor: Allow your aioli to chill for at least an hour before serving; this step helps the flavors meld beautifully.
- Customize Ingredients: Feel free to play with the ingredients; adding different herbs or spices can elevate your aioli recipe to new heights.
Make Ahead Options
This easy aioli recipe is perfect for busy home cooks who want to save time without compromising on flavor! You can prepare the full aioli mixture up to 24 hours in advance and refrigerate it in an airtight container to let the flavors meld beautifully. To maintain the creamy texture and vibrant taste, be sure to stir it gently before serving, especially if it’s been sitting in the fridge. If you prefer a quicker meal prep, chop your garlic and herbs ahead of time and store them separately in the refrigerator for up to 3 days. When you’re ready to enjoy, simply combine all ingredients and follow the final mixing steps; you’ll have a delightful aioli ready to elevate any dish!
What to Serve with Aioli?
Imagine a gathering where every bite of food bursts with flavor; that’s the magic aioli brings to your table.
-
Crispy Vegetable Platter: Fresh, crunchy veggies such as carrots and bell peppers create a delightful contrast to the creamy aioli.
-
Grilled Chicken Skewers: Juicy chicken chunks benefit from a dip in aioli, adding richness and a zesty kick to every bite.
-
Flaky Fish Tacos: A drizzle of aioli elevates the flavors in fish tacos, enhancing the freshness of the fish and toppings.
-
Roasted Potatoes: Crispy on the outside and tender inside, potatoes swirled in aioli create a comforting, flavorful side.
-
Crunchy French Fries: Pairing fries with aioli transforms this classic treat into a gourmet experience, thanks to the creamy dip.
-
Artisan Sandwiches: Spread aioli on sandwiches for an extra layer of richness that complements meats and veggies seamlessly.
-
Savory Grain Bowls: Elevate any grain bowl by adding a dollop of aioli, giving a creamy texture that ties all the ingredients together.
-
Refreshing Salads: Use aioli as a unique salad dressing for a creamy twist on your greens, making every bite a joy.
Aioli Recipe Variations
Ready to spice things up? There are so many delightful ways to customize this aioli and make it your own!
-
Dairy-Free: Substitute mayonnaise with silken tofu for a dairy-free, creamy twist that won’t compromise flavor.
-
Herb-Infused: Add freshly chopped basil or dill for a garden-fresh note that enhances the aioli’s vibrant taste.
-
Spicy Kick: Mix in a dash of cayenne pepper or a spoonful of sriracha to turn up the heat and awaken your taste buds.
-
Smoky Flavor: Incorporate smoked paprika for a subtle smokiness that pairs beautifully with grilled meats and veggies.
-
Tangy Kick: Replace lemon juice with apple cider vinegar for a tangier experience that adds a bit of zing.
-
Roasted Garlic: Swap fresh garlic for roasted garlic to bring a sweet, mellow flavor that adds depth and richness.
-
Nutty Twist: Blend in a tablespoon of tahini for a nutty, creamy texture that enhances its overall complexity.
-
Vegan Options: Utilize vegan mayonnaise for a plant-based aioli that retains all of the flavor and creaminess of the original.
Aioli Recipe FAQs
What type of mayonnaise should I use for this aioli recipe?
Absolutely! Using a high-quality mayonnaise ensures the best flavor and creaminess for your aioli. You can opt for regular or low-fat mayonnaise, depending on your preference. If you’re feeling adventurous, try using homemade mayonnaise for an even fresher taste!
How should I store leftover aioli, and how long will it last?
Very! To keep your aioli fresh and flavorful, store it in an airtight container in the refrigerator. It will last up to one week. Just remember to give it a good stir before serving if it separates slightly over time—it’s all about keeping that delightful texture intact!
Can I freeze aioli, and if so, how?
Certainly! For longer storage, you can freeze aioli in small portions. I recommend using an ice cube tray—just spoon the aioli into each compartment and freeze until solid. Once frozen, pop out the cubes and store them in a resealable freezer bag. This will keep for up to three months. When you’re ready to use it, thaw it in the fridge overnight and stir gently before serving.
What if my aioli is too thin?
Good question! If your aioli turns out thinner than you’d like, you can add a little more mayonnaise to thicken it up. Another option is to blend in a small amount of more minced garlic or a spoonful of Greek yogurt for extra creaminess and flavor. Make sure to mix it gradually, tasting as you go to ensure the flavor remains balanced.
Is this aioli recipe safe for people with allergies?
Great consideration! This classic aioli recipe includes mayonnaise, which is made from eggs and may contain allergens; if you’re preparing it for guests with allergies, be sure to double-check the mayonnaise ingredients. You can also consider using an egg-free mayonnaise alternative to keep it friendly for those with egg allergies. Always label the aioli properly if serving to avoid any confusion!
Can I adapt the garlic flavor in this aioli recipe?
Absolutely! If you find the flavor of raw garlic to be a bit strong, you can roast the garlic before adding it to the aioli recipe. Roasted garlic offers a sweeter, milder taste that beautifully complements the other ingredients. Simply wrap a few garlic cloves in aluminum foil, drizzle with olive oil, and roast them at 400°F (200°C) for about 30-35 minutes until soft. Once cooled, squeeze the garlic out and blend it with the other ingredients. Enjoy!
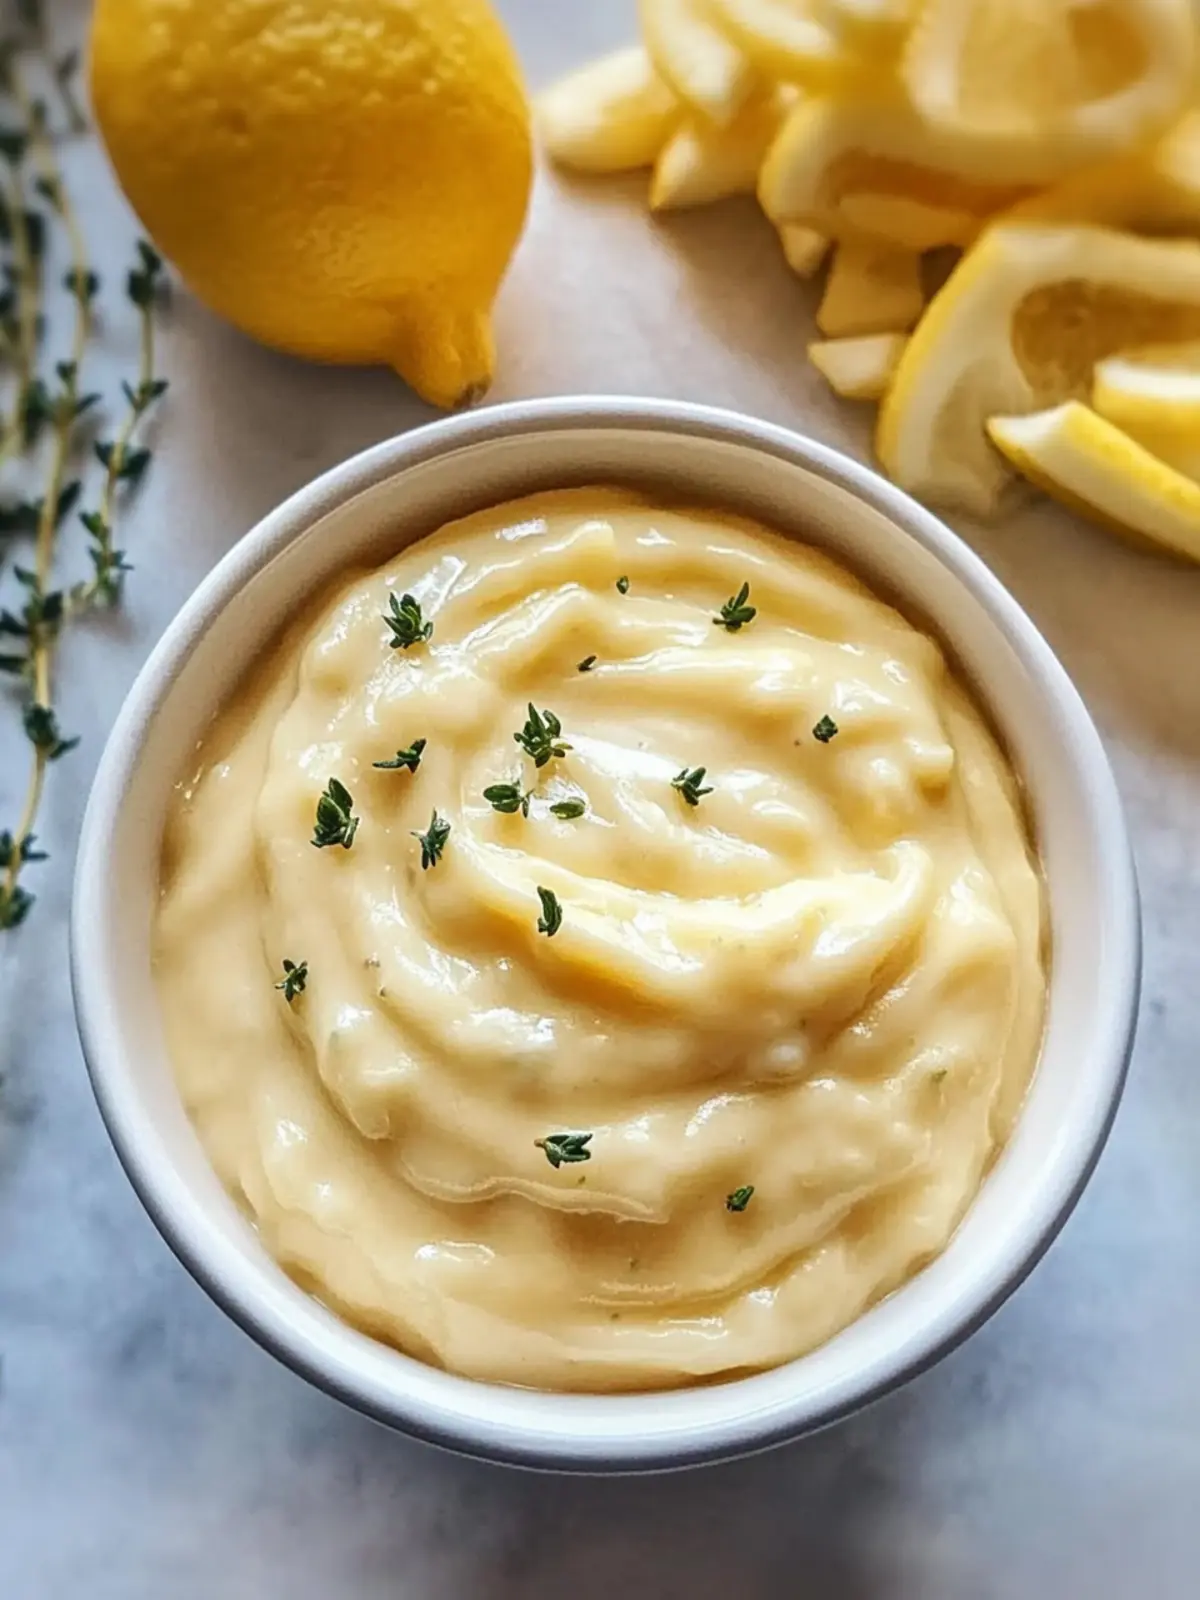
Elevate Your Dishes with This Easy Aioli Recipe Today
Ingredients
Equipment
Method
- In a medium bowl, add mayonnaise, minced garlic, lemon juice, black pepper, fresh parsley, and ketchup. This blend creates a rich, flavorful base for your aioli.
- Using a whisk or fork, stir the mixture until it’s well combined and creamy. Aim for a smooth consistency for the best texture in your aioli.
- For enhanced flavors, either serve immediately or chill in the refrigerator for at least an hour. This step allows the garlic to mellow and blend beautifully.