
When the sun starts to rise, painting the sky in soft hues of orange and pink, my thoughts often drift to the heartwarming comfort of a Chilaquiles Breakfast Casserole. The first time I tried this layered delight, I couldn’t believe how simple yet satisfying it was. With the crunch of tortilla chips intermingling with gooey Monterey Jack and sharp Cheddar, it felt like a festive celebration of flavors right at home.
This dish is perfect for a leisurely brunch or to impress guests during cozy gatherings. With just a handful of ingredients, like tangy salsa and fresh avocado, it’s effortlessly customizable—whether you want to go classic or add a spicy twist with pepper jack cheese. And the best part? You can prepare it ahead of time, making your mornings a breeze. Let’s dive into how to whip up this hearty Mexican-inspired casserole that will surely become a family favorite!
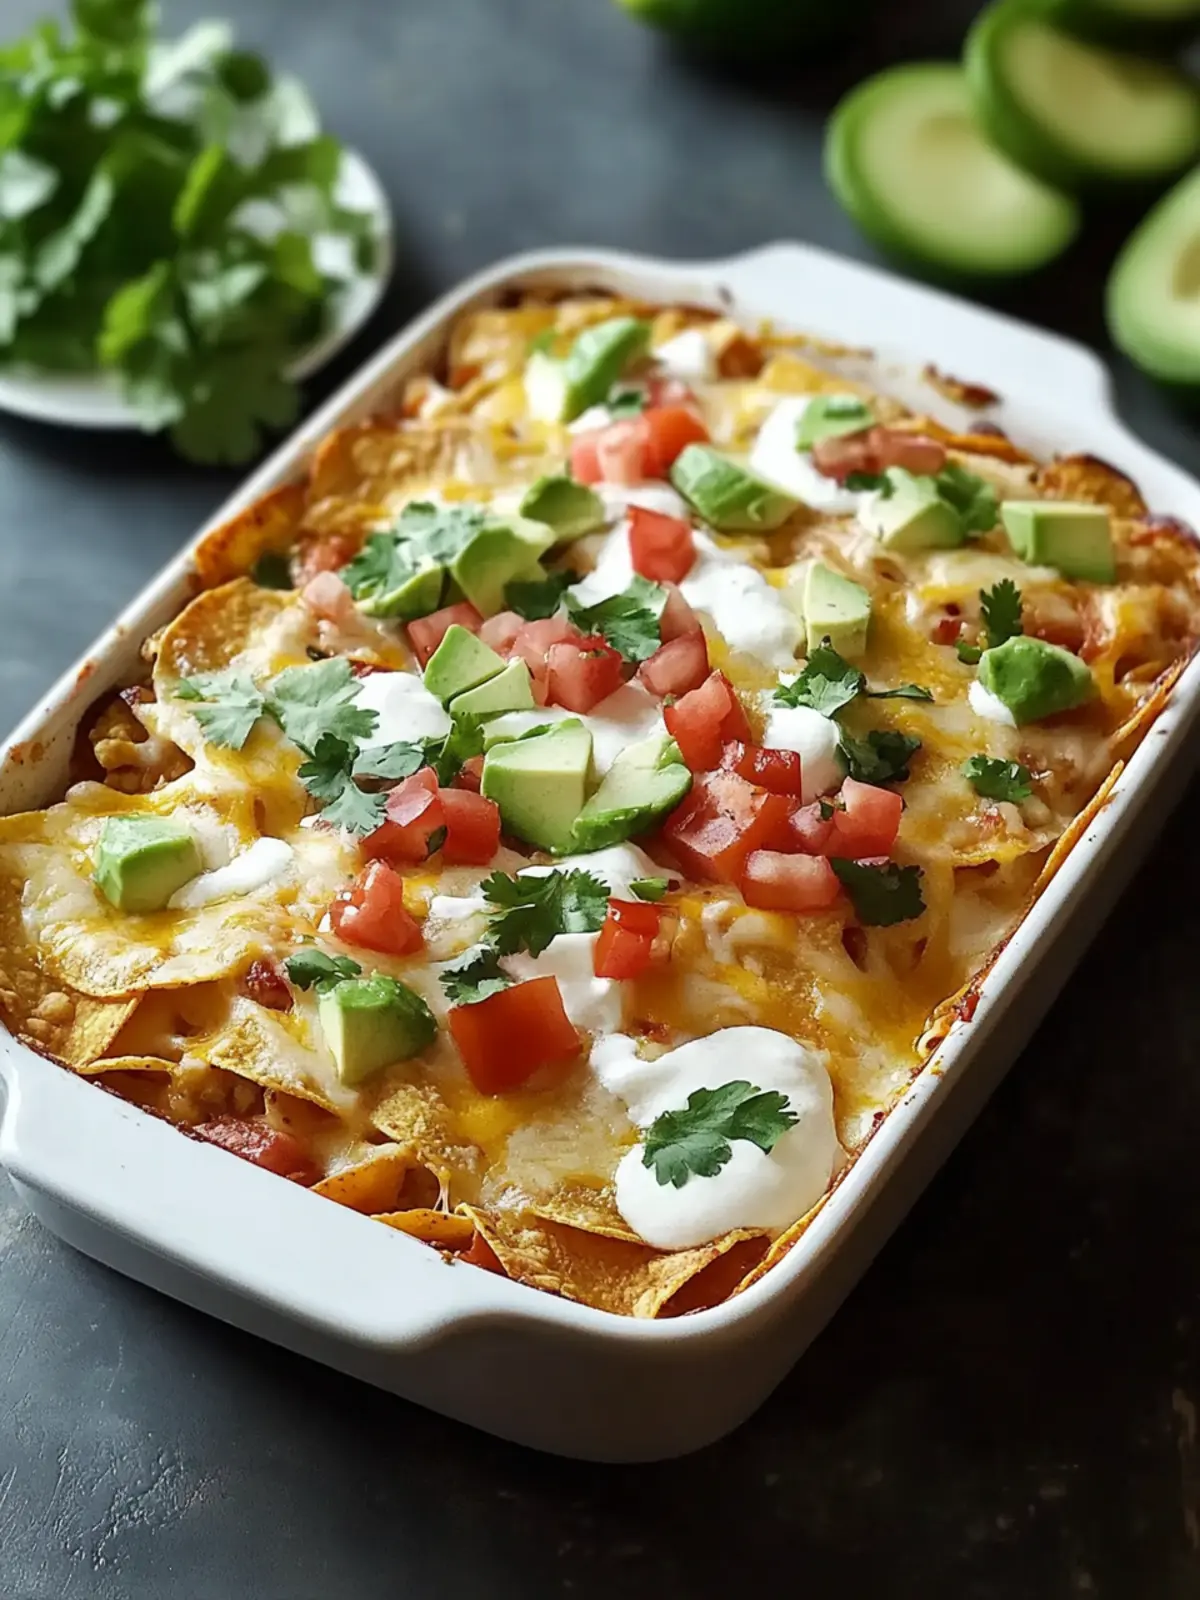
Why make Chicken Chilaquiles Casserole today?
Hearty and Comforting: This casserole combines the satisfying crunch of crispy tortilla chips with a rich, cheesy blend that’s perfect for breakfast or brunch.
Easily Customizable: You can tailor this dish to suit any palate, adding ingredients like spicy jalapeños or protein-packed chicken for a filling meal.
Crowd-Pleaser: Great for entertaining, it serves multiple people effortlessly, making it a go-to for family gatherings or celebrations.
Make-Ahead Convenience: Prepare the casserole the night before, and simply pop it in the oven for a stress-free morning.
Vibrant Flavors: The delicious medley of fresh salsa and zesty toppings elevates every bite, ensuring everyone comes back for seconds!
For additional tips on preparation, check out the “Expert Tips & Warnings” section!
Chicken Chilaquiles Casserole Ingredients
For the Casserole Base
• Tortilla Chips – Use corn tortilla chips for an authentic flavor, or opt for baked chips for a lighter choice.
• Cooked Chicken – Shredded chicken adds heartiness; rotisserie chicken makes for a quick option.
For the Cheesy Layer
• Monterey Jack Cheese – This cheese provides a creamy melt; consider using a vegan cheese for a dairy-free version.
• Cheddar Cheese – A sharp contrast that enhances taste; feel free to swap for pepper jack for an extra kick.
For the Sauce
• Salsa – Fresh salsa brings moisture and zest; choose your favorite variety, whether homemade or store-bought.
• Eggs (optional) – Incorporate eggs for added richness and protein; a tofu scramble is a great substitute for a vegan dish.
For Toppings
• Avocado – Sliced avocado adds a creamy texture and fresh flavor; Greek yogurt can be used as a substitute if needed.
• Cilantro – Fresh cilantro offers brightness; replace it with green onions if you’re not a fan of cilantro.
Embrace the joy of making this delightful Chicken Chilaquiles Casserole and gather your loved ones around for a comforting meal.
How to Make Chicken Chilaquiles Casserole
- Prep Oven: Preheat your oven to 350°F (175°C) and grease your casserole dish with a bit of oil or cooking spray to ensure easy removal later on.
- Layer Chips: Spread a generous layer of tortilla chips evenly across the bottom of the dish, creating a delightful base for your casserole.
- Add Chicken: Sprinkle the shredded chicken over the chips, making sure to distribute it evenly for maximum flavor and heartiness.
- Mix Cheese: Combine half of the Monterey Jack and Cheddar cheeses, then sprinkle this cheesy mixture over the chicken layer, ensuring coverage for a gooey melt.
- Pour Salsa: Drizzle your favorite salsa over the entire layered dish, letting it soak into the chips and cheese, creating a delicious medley of flavors.
- Add Optional Eggs: If desired, crack eggs directly over the salsa layer, or whisk them with a splash of milk before pouring evenly onto the dish for extra creaminess.
- Final Cheese Layer: Top the casserole with the remaining cheese mixture, making it a cheesy delight that will bubble beautifully when baked.
- Bake Casserole: Bake in the preheated oven for 25-30 minutes, or until the cheese is bubbly and golden brown, and the edges are crispy.
- Serve Warm: Once ready, let it cool slightly before garnishing with sliced avocado and fresh cilantro, then serve warm for a delightful brunch experience.
Optional: Add sliced jalapeños for a spicy kick!
Exact quantities are listed in the recipe card below.
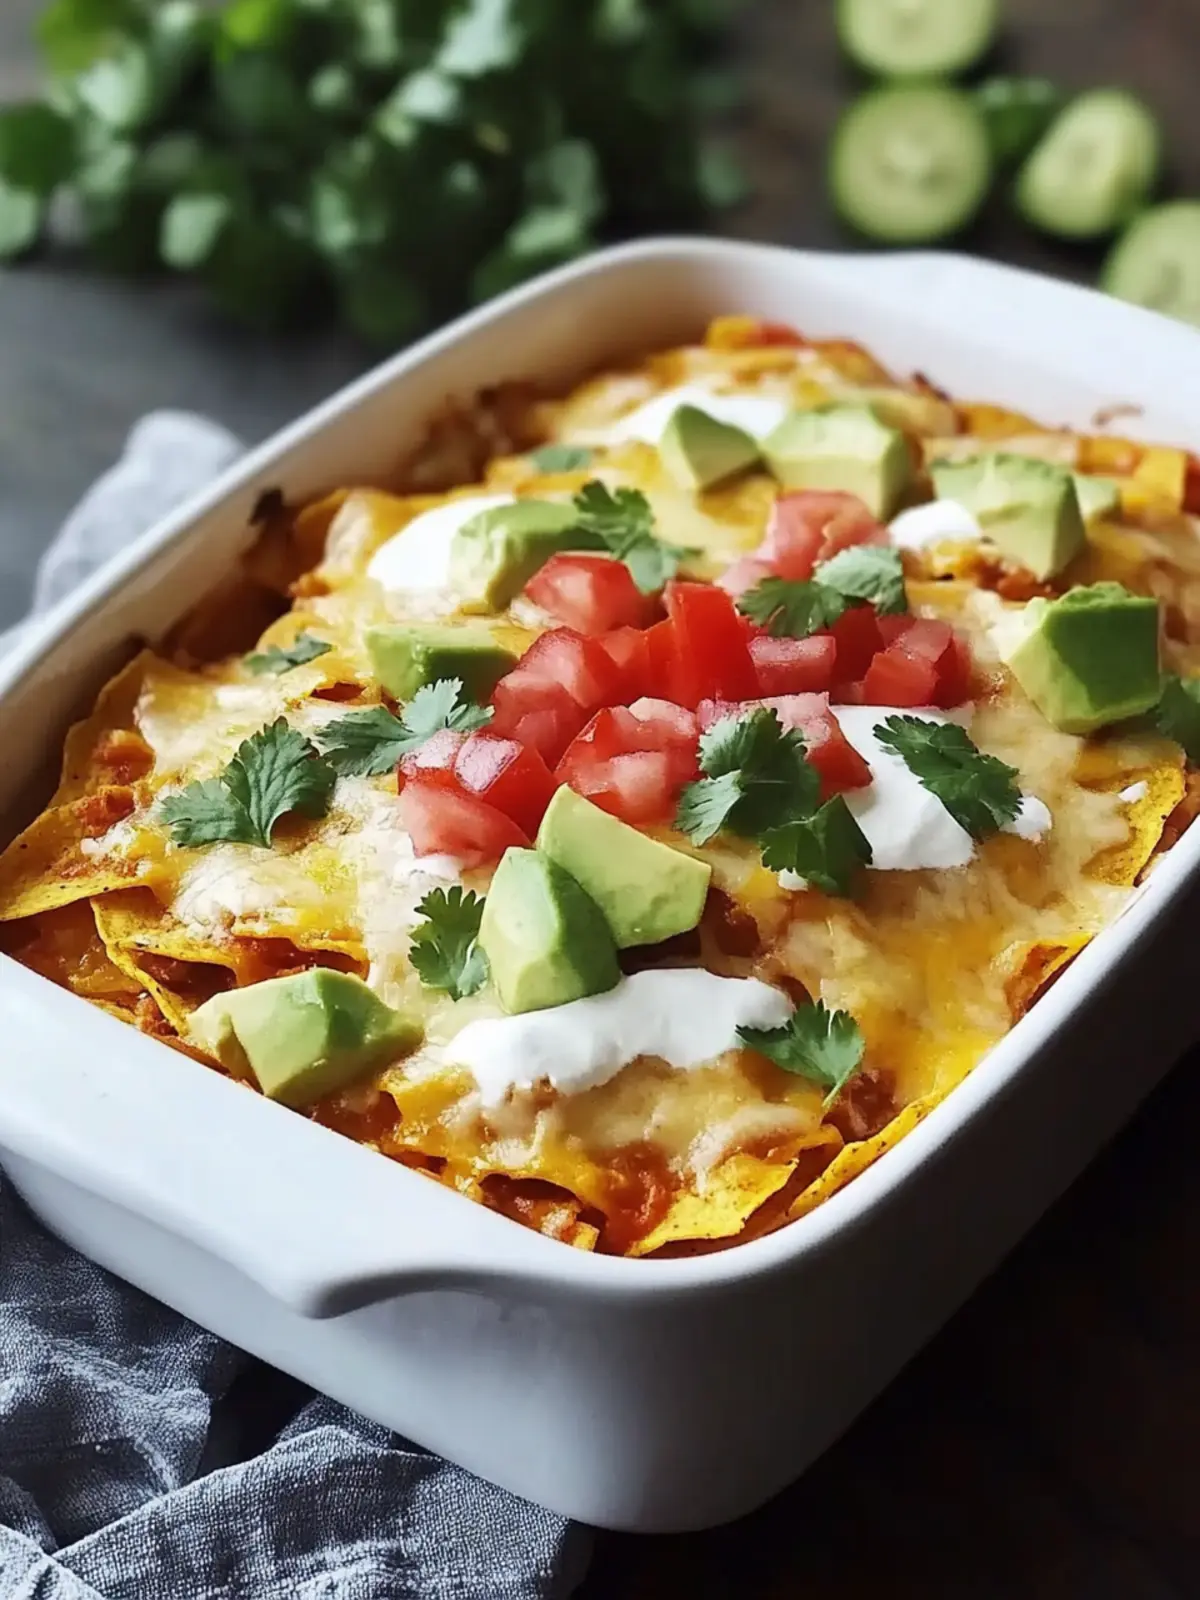
Variations & Substitutions for Chicken Chilaquiles Casserole
Feel free to add your own spin to this delightful dish, creating flavors that resonate with your taste buds!
- Gluten-Free: Replace traditional tortilla chips with gluten-free corn tortilla chips to keep the recipe celiac-friendly.
- Spicy Kick: Swap out regular salsa for a spicy tomatillo salsa or add jalapeños for an extra heat that tantalizes the palate.
- Vegetarian Delight: Omit chicken and add sautéed bell peppers, zucchini, or spinach for a vibrant vegetarian option.
- Protein Boost: Mix in black beans or chickpeas with the shredded chicken for additional protein and fiber without compromising on flavor.
- Creamy Twist: Incorporate a layer of cream cheese or sour cream between the layers for an extra creamy texture that’ll make each bite indulgent.
- Smoky Flavor: Add smoked paprika or chipotle powder into your salsa for a smoky depth of flavor that dances on the tongue.
- Fresh Herbs: Instead of cilantro, try fresh parsley or dill for a different herbal note that complements the dish beautifully.
- Egg-less Option: For a lighter dish, skip the eggs entirely, making it a great option for a quick brunch without compromising heartiness.
How to Store and Freeze Chicken Chilaquiles Casserole
Fridge: Store the casserole covered in the refrigerator for up to 3 days. Reheat individual portions in the microwave or oven until warmed through.
Freezer: If you want to freeze your Chicken Chilaquiles Casserole, wrap it tightly in plastic wrap and then foil. It can be kept for up to 3 months—just thaw overnight in the fridge before reheating.
Reheating: For best results, reheat in the oven at 350°F (175°C) for about 20-25 minutes until hot and bubbly.
Make-Ahead Tip: Assemble the casserole the night before and store it in the fridge overnight. This allows the flavors to meld, making it even tastier when baked!
What to Serve with Chicken Chilaquiles Casserole?
When it comes to a flavor-packed dish like this casserole, you’ll want to accompany it with delightful sides that complement its rich tastes.
-
Crispy Refried Beans: A classic side that adds a creamy texture, refried beans balance the crunchiness of the casserole beautifully. Serve warm, drizzled with a bit of cheese for extra indulgence.
-
Zesty Avocado Salad: Fresh avocado salad mixed with lime juice and tomatoes brings a refreshing contrast to the hearty casserole. Its brightness perfectly cuts through the richness, making every bite a celebration of flavors.
-
Tangy Salsa Verde: A side of salsa verde adds a zippy kick that enhances the overall flavor profile. The tanginess pairs marvelously with the cheesy layers of your casserole, ensuring your taste buds are dancing!
-
Sweet Corn Elote: Grilled corn on the cob smeared with a lime, chili, and cheese mixture creates a sweet and spicy experience. This lively side adds an exciting crunch and is perfect for rounding out a festive brunch.
-
Chilled Fruit Salad: A vibrant mix of seasonal fruits will lighten up the meal and provide a refreshing sweetness. A fruit salad garnished with mint is a perfect palate cleanser after the hearty chilaquiles layers.
-
Margaritas or Horchata: Embrace the theme with classic margaritas or a creamy horchata. Both drinks not only amplify the Mexican-inspired vibe but also provide a refreshing break from the savory richness of the casserole.
Expert Tips for Chicken Chilaquiles Casserole
• Use Stale Chips: Ensure your tortilla chips are slightly stale to prevent sogginess in your casserole—this will keep them crispy during baking.
• Flavor Boost: Sauté onions and garlic before mixing with the salsa to deepen the overall flavor of your Chicken Chilaquiles Casserole.
• Egg Monitoring: If using eggs, bake carefully; check for doneness often to avoid rubbery eggs—aim for just set, not overcooked.
• Custom Cheese Choices: Feel free to swap cheeses for a tastier finish; try using a blend of pepper jack for a spicy twist if desired.
• Layer Wisely: Spread layers evenly to ensure every bite is balanced, with chips, chicken, cheese, and toppings harmonizing perfectly.
Make Ahead Options
These Chicken Chilaquiles Casserole are a great option for busy mornings! You can easily assemble the casserole up to 24 hours in advance by layering the tortilla chips, shredded chicken, and cheese, then covering it tightly with plastic wrap. The salsa can also be poured over before refrigerating to allow the flavors to meld overnight. To maintain quality, use stale chips for best texture and avoid sogginess. When ready to bake, simply preheat your oven and pop it in straight from the fridge, adding an extra few minutes to the baking time for delicious, perfectly melted results that will brighten your day!
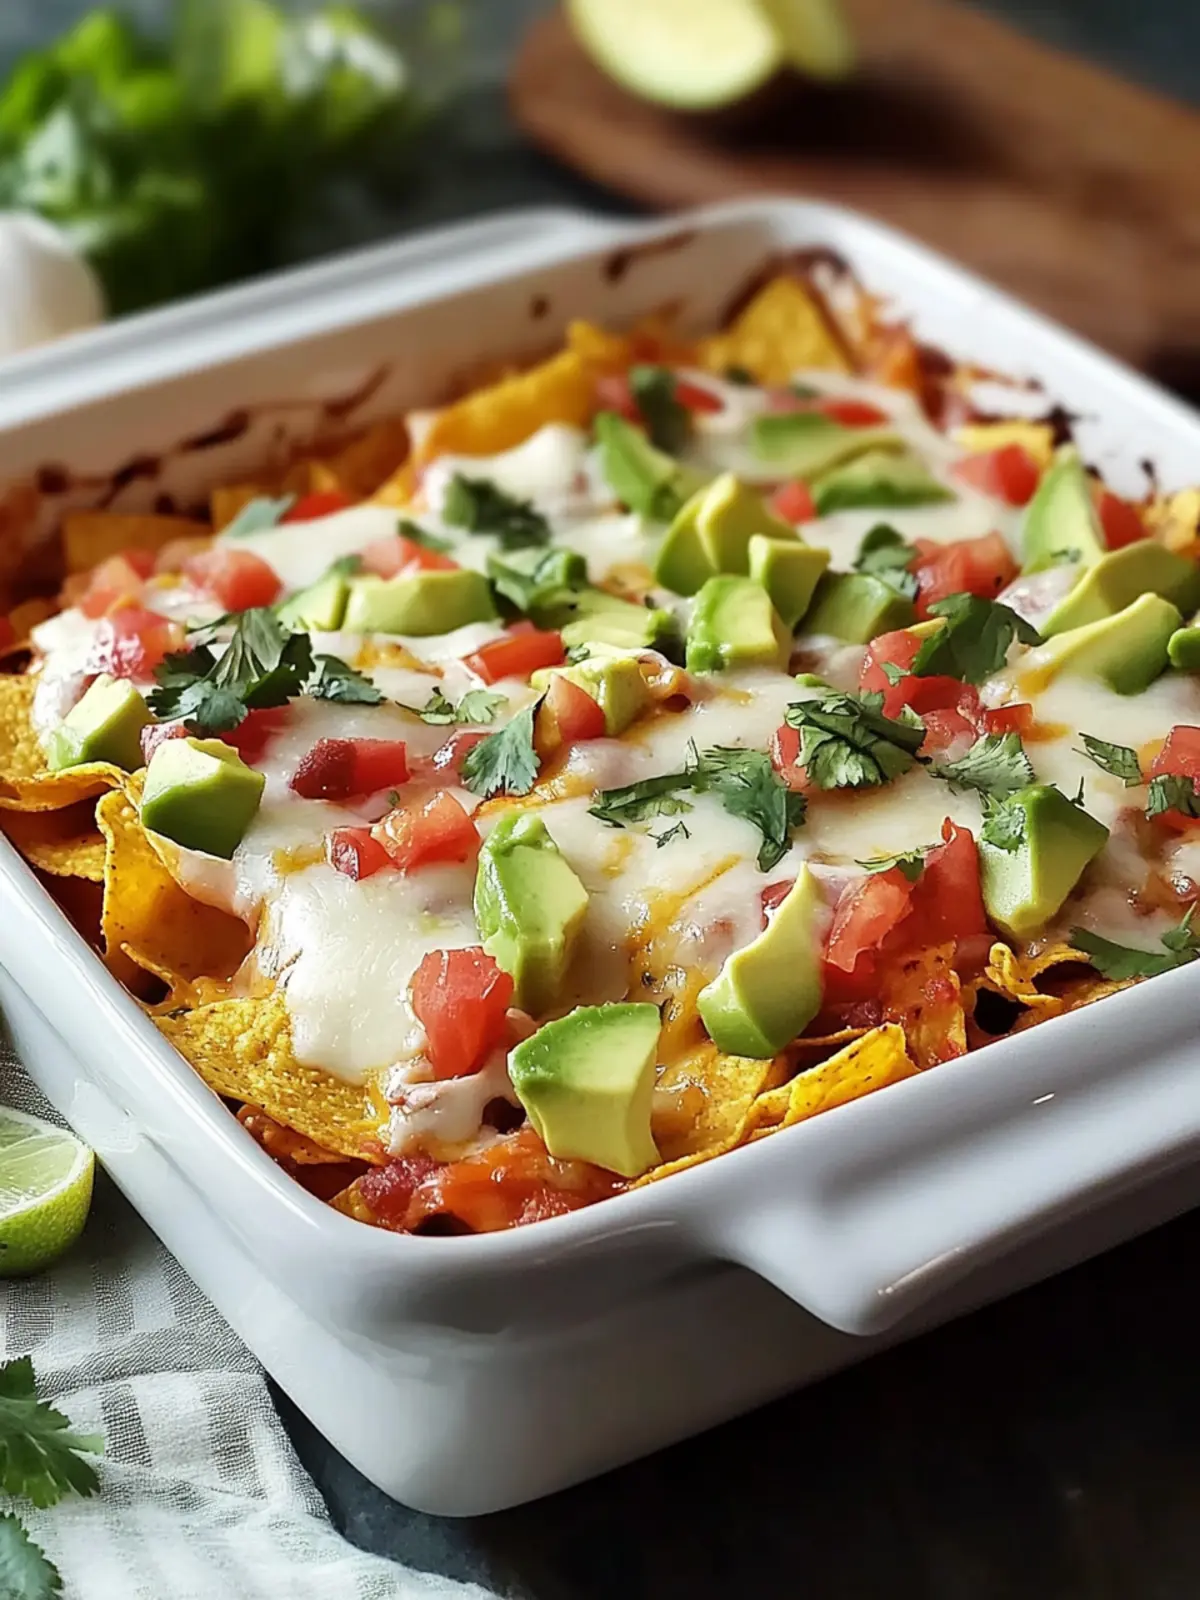
Chicken Chilaquiles Casserole Recipe FAQs
What kind of tortilla chips should I use for the casserole?
Absolutely! Opt for corn tortilla chips for that traditional flavor. If you prefer a lighter option, baked tortilla chips work marvelously, too. Just ensure they’re slightly stale to keep that crunchy texture during baking.
How should I store the leftover casserole?
Very easily! Cover the casserole with plastic wrap or foil and keep it in the refrigerator for up to 3 days. When you’re ready to enjoy it again, reheat individual portions in the microwave or oven until they’re warmed through.
Can I freeze the Chicken Chilaquiles Casserole?
Yes, you can! To freeze, wrap the casserole tightly in plastic wrap followed by a layer of aluminum foil to prevent freezer burn. It can be stored for up to 3 months. For reheating, thaw it overnight in the fridge before baking it at 350°F (175°C) for about 20-25 minutes until bubbly and hot.
What if my eggs become rubbery while baking?
If you notice your eggs are overcooking, be sure to monitor the baking process closely. They should be just set and not rubbery. A tip I recommend is to crack the eggs directly on the salsa layer at the end of the assembly for better control over their doneness.
Are there any dietary considerations for this casserole?
Indeed! You can easily adapt this dish for various dietary needs. For a vegan option, substitute the eggs with a tofu scramble and use non-dairy cheese alternatively. Always check ingredients like salsa for any allergens, and be mindful of chips that might contain gluten if needed for gluten-free variations.
Can I make this casserole ahead of time?
Of course! One of the best features of the Chicken Chilaquiles Casserole is its make-ahead potential. Assemble everything the night before, cover it, and refrigerate. This allows the flavors to meld beautifully—pop it in the oven in the morning for a hassle-free breakfast!
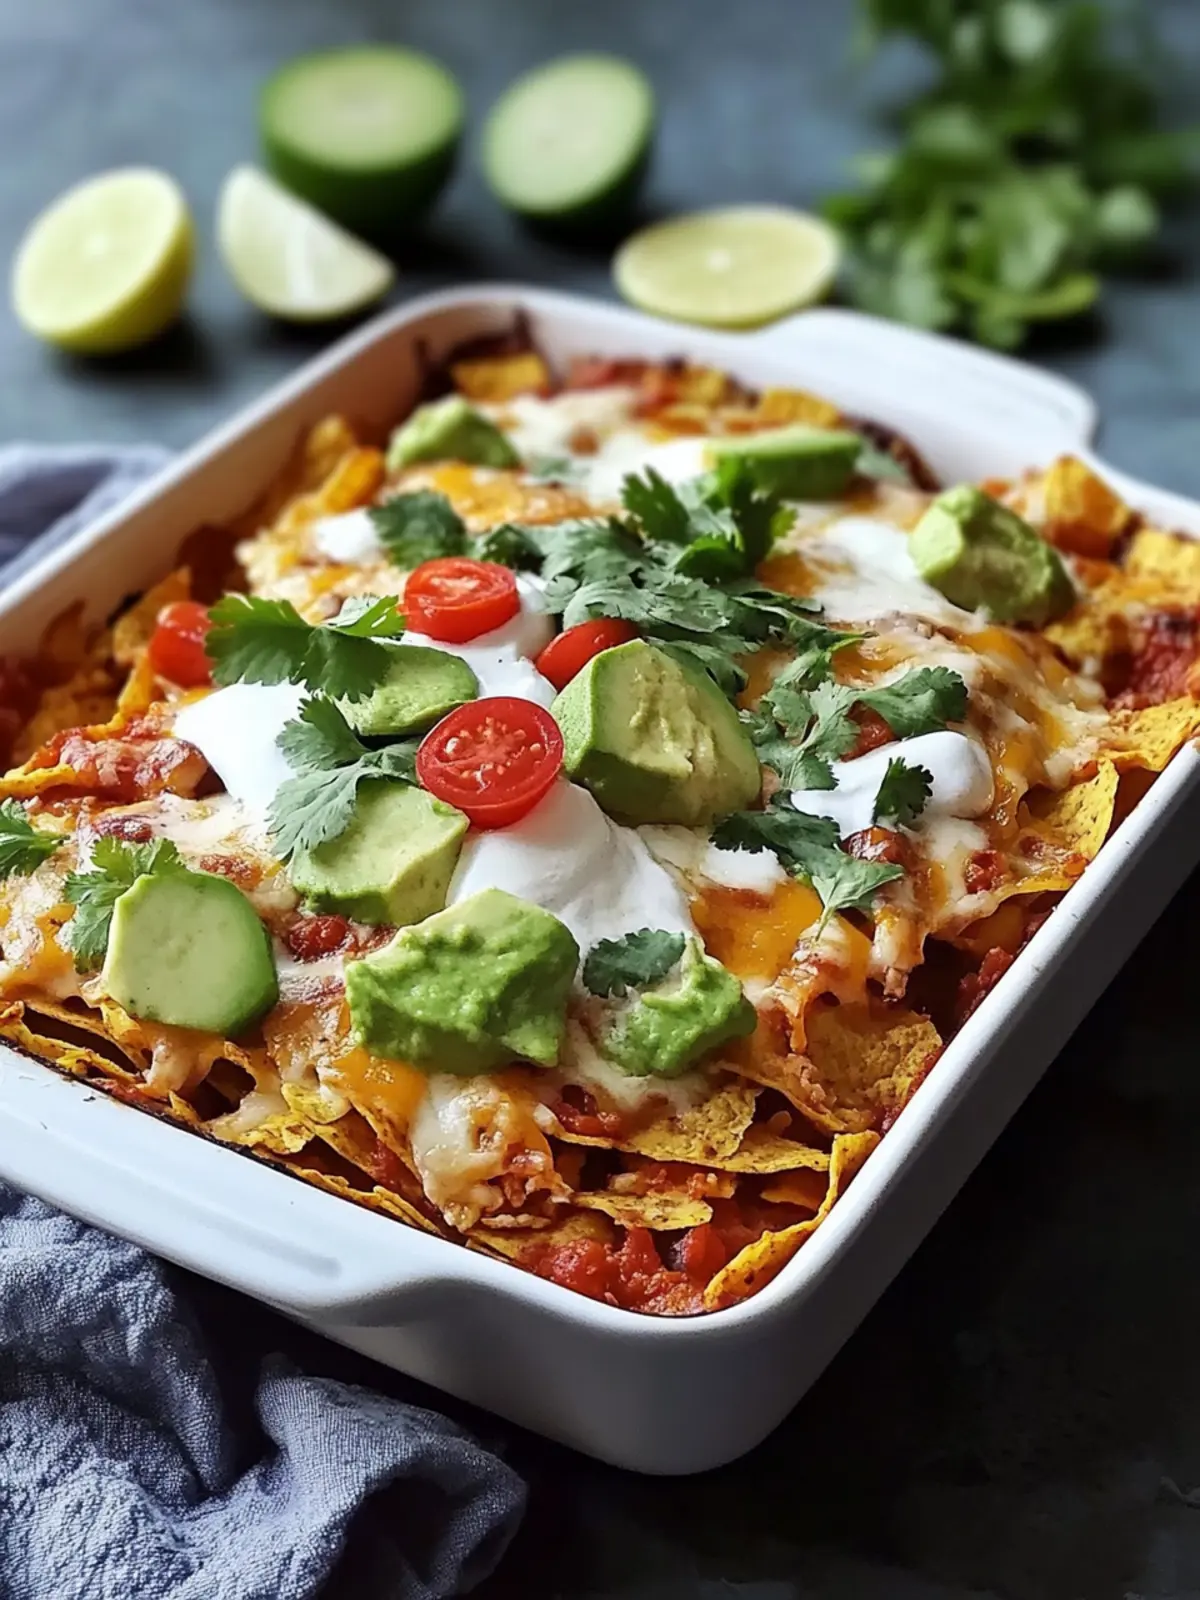
Delicious Chicken Chilaquiles Casserole for Brunch Bliss
Ingredients
Equipment
Method
- Preheat your oven to 350°F (175°C) and grease your casserole dish with oil or cooking spray.
- Spread a layer of tortilla chips evenly across the bottom of the dish.
- Sprinkle shredded chicken over the chips evenly.
- Combine half of the Monterey Jack and Cheddar cheeses, sprinkle over the chicken layer.
- Drizzle salsa over the entire layered dish.
- If desired, crack eggs over the salsa layer or whisk them with milk before pouring.
- Top with the remaining cheese mixture.
- Bake for 25-30 minutes, or until cheese is bubbly and golden.
- Let cool slightly and garnish with avocado and cilantro, then serve.